-
CNC
The first assignment was to design something and make it using CNC. I decided to cut out my friend's drawing of a bear in a lab coat. I first used Inkscape to trace the bitmap and convert it into a DXF file. Then I took it to the Aspire software to print it out on the Shopbot. I realized that the design was much too detailed to be captured even by the smallest end mill, so I had to remove a lot of tiny details manually and then create all the pocket and profile toolpaths (inner ones were 2mm deep). This part took quite a long time! I finally nailed down a 6mm piece of wood to the sacrificial layer, zeroed it (using the paper test for the Z coordinate), switched to the 1/32 inch end mill, and did an air cut to test it out before the real cut. It turned out pretty well overall--just one pocket toolpath that I forgot to set to 2mm went all the way through. :") The last step was to sand it down.

Original Design 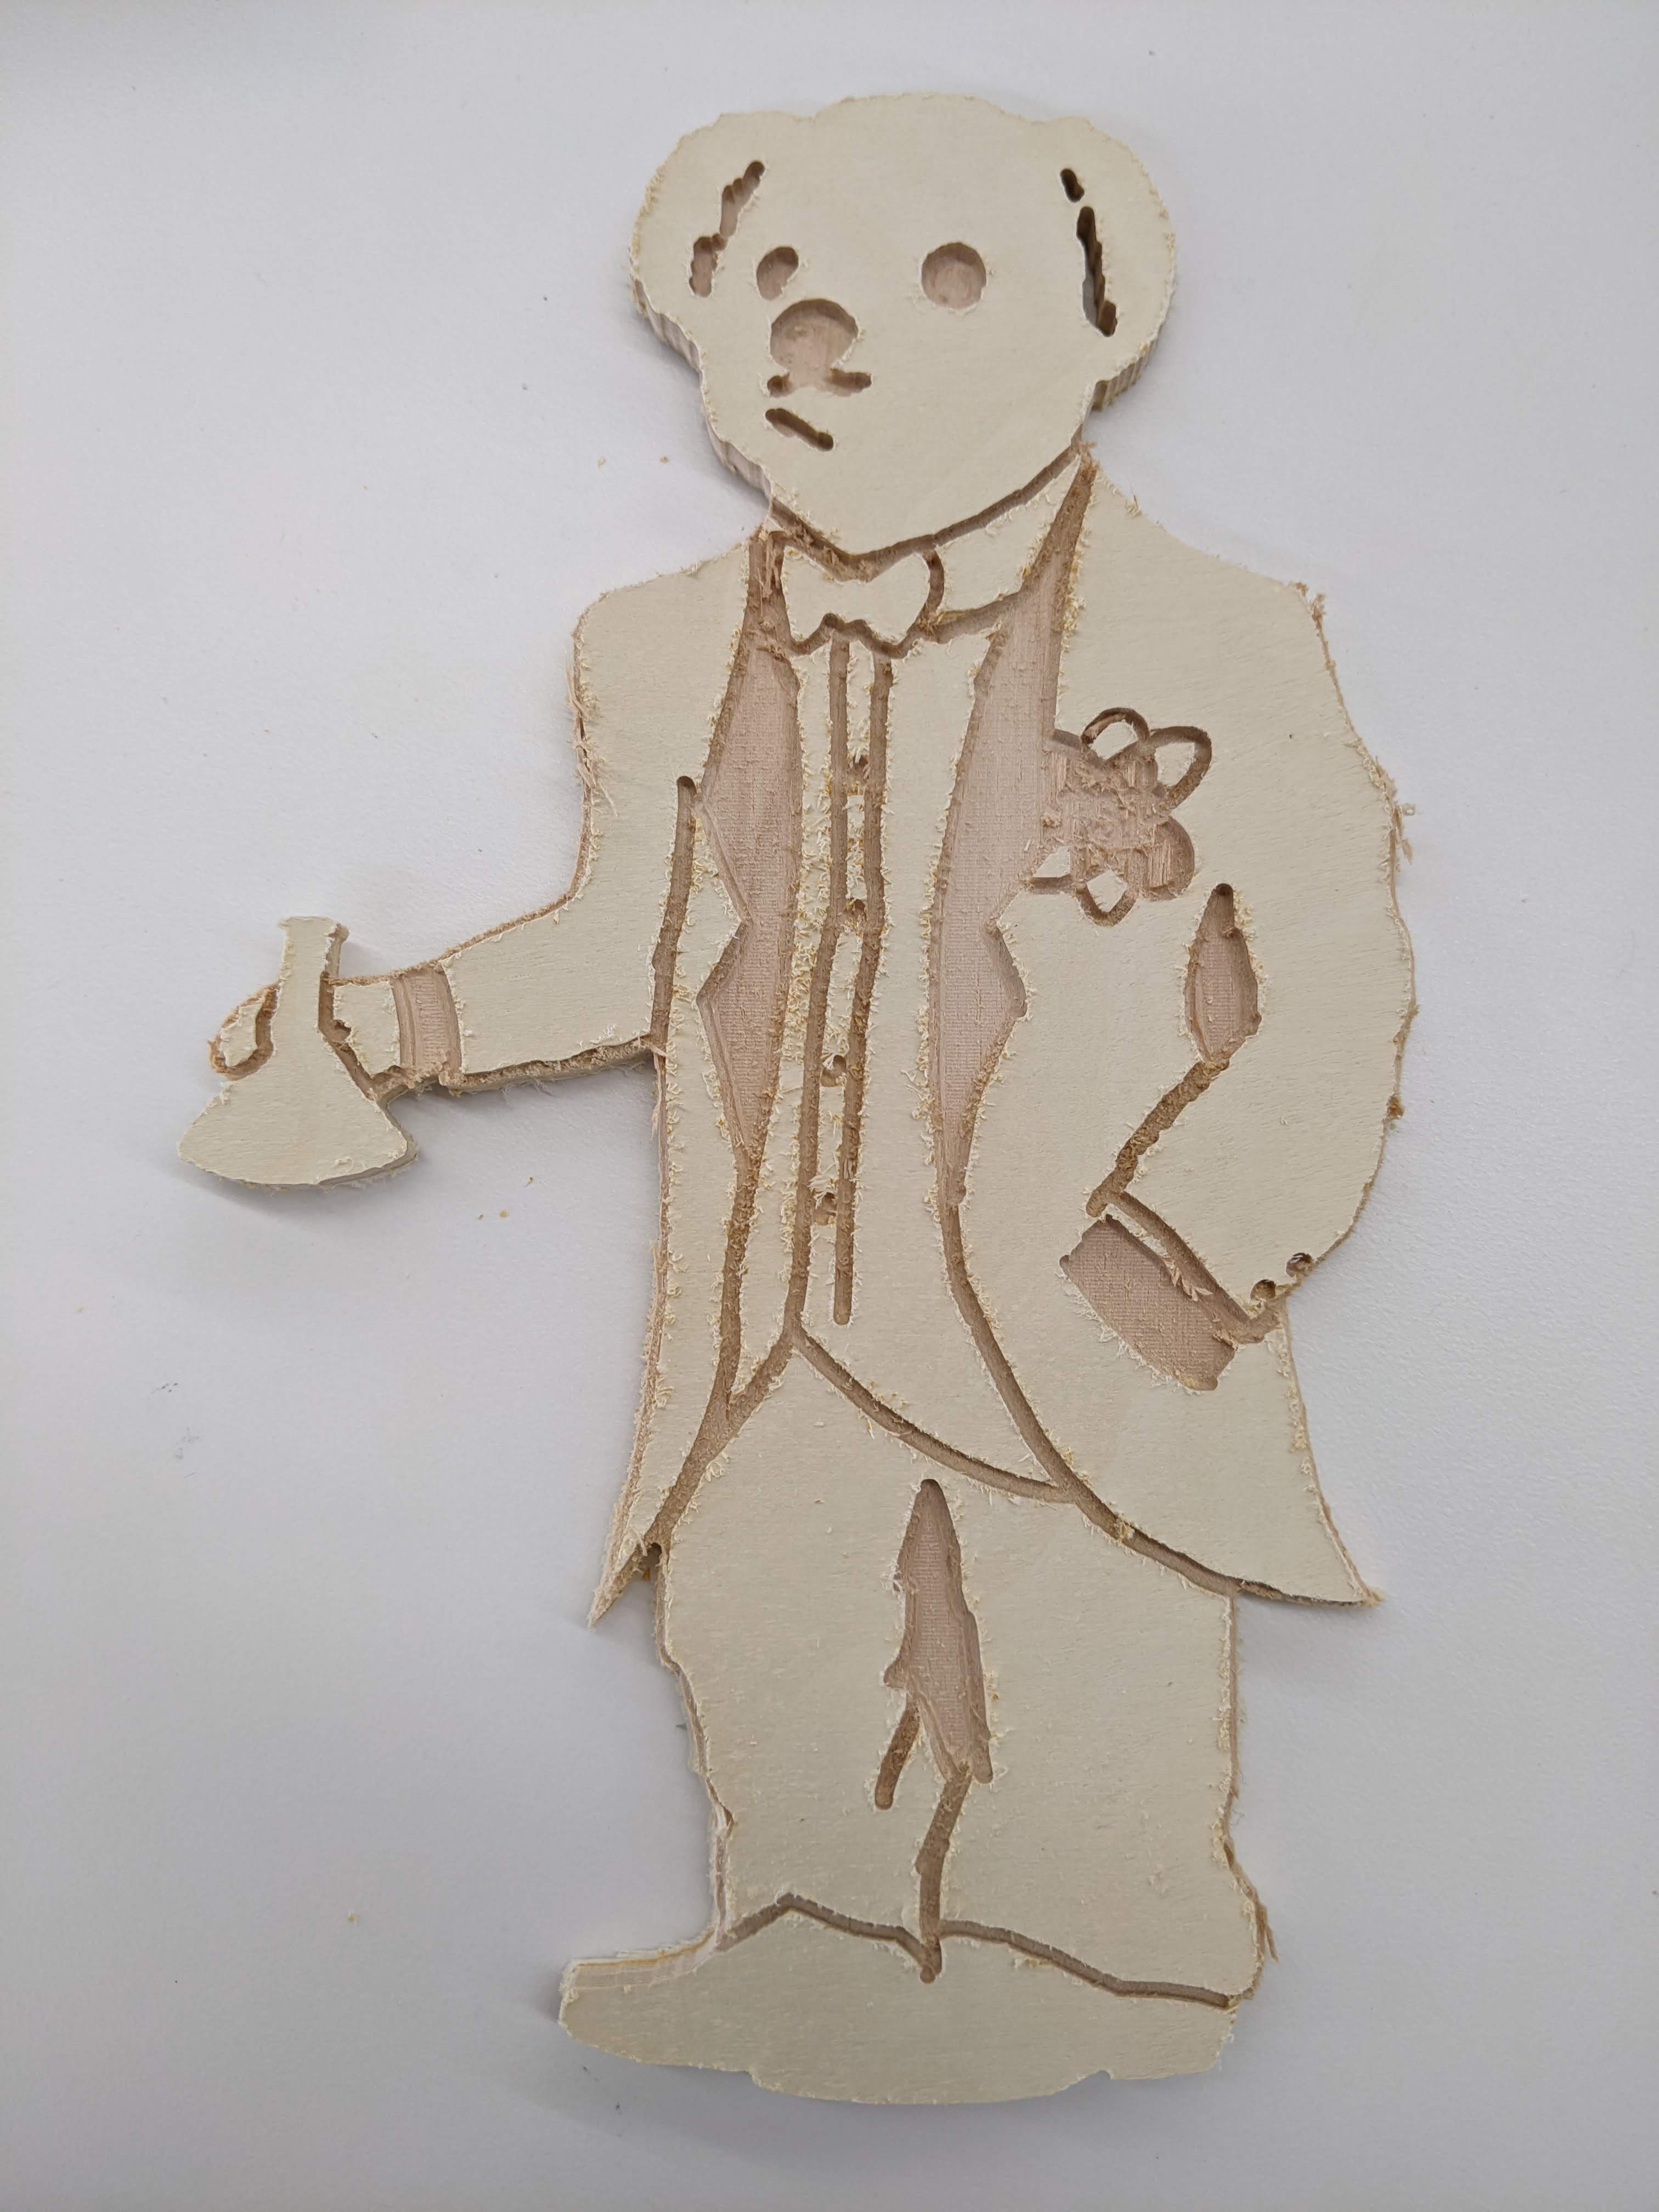
Fresh Out of the Shopbot (Pre-Sanding) 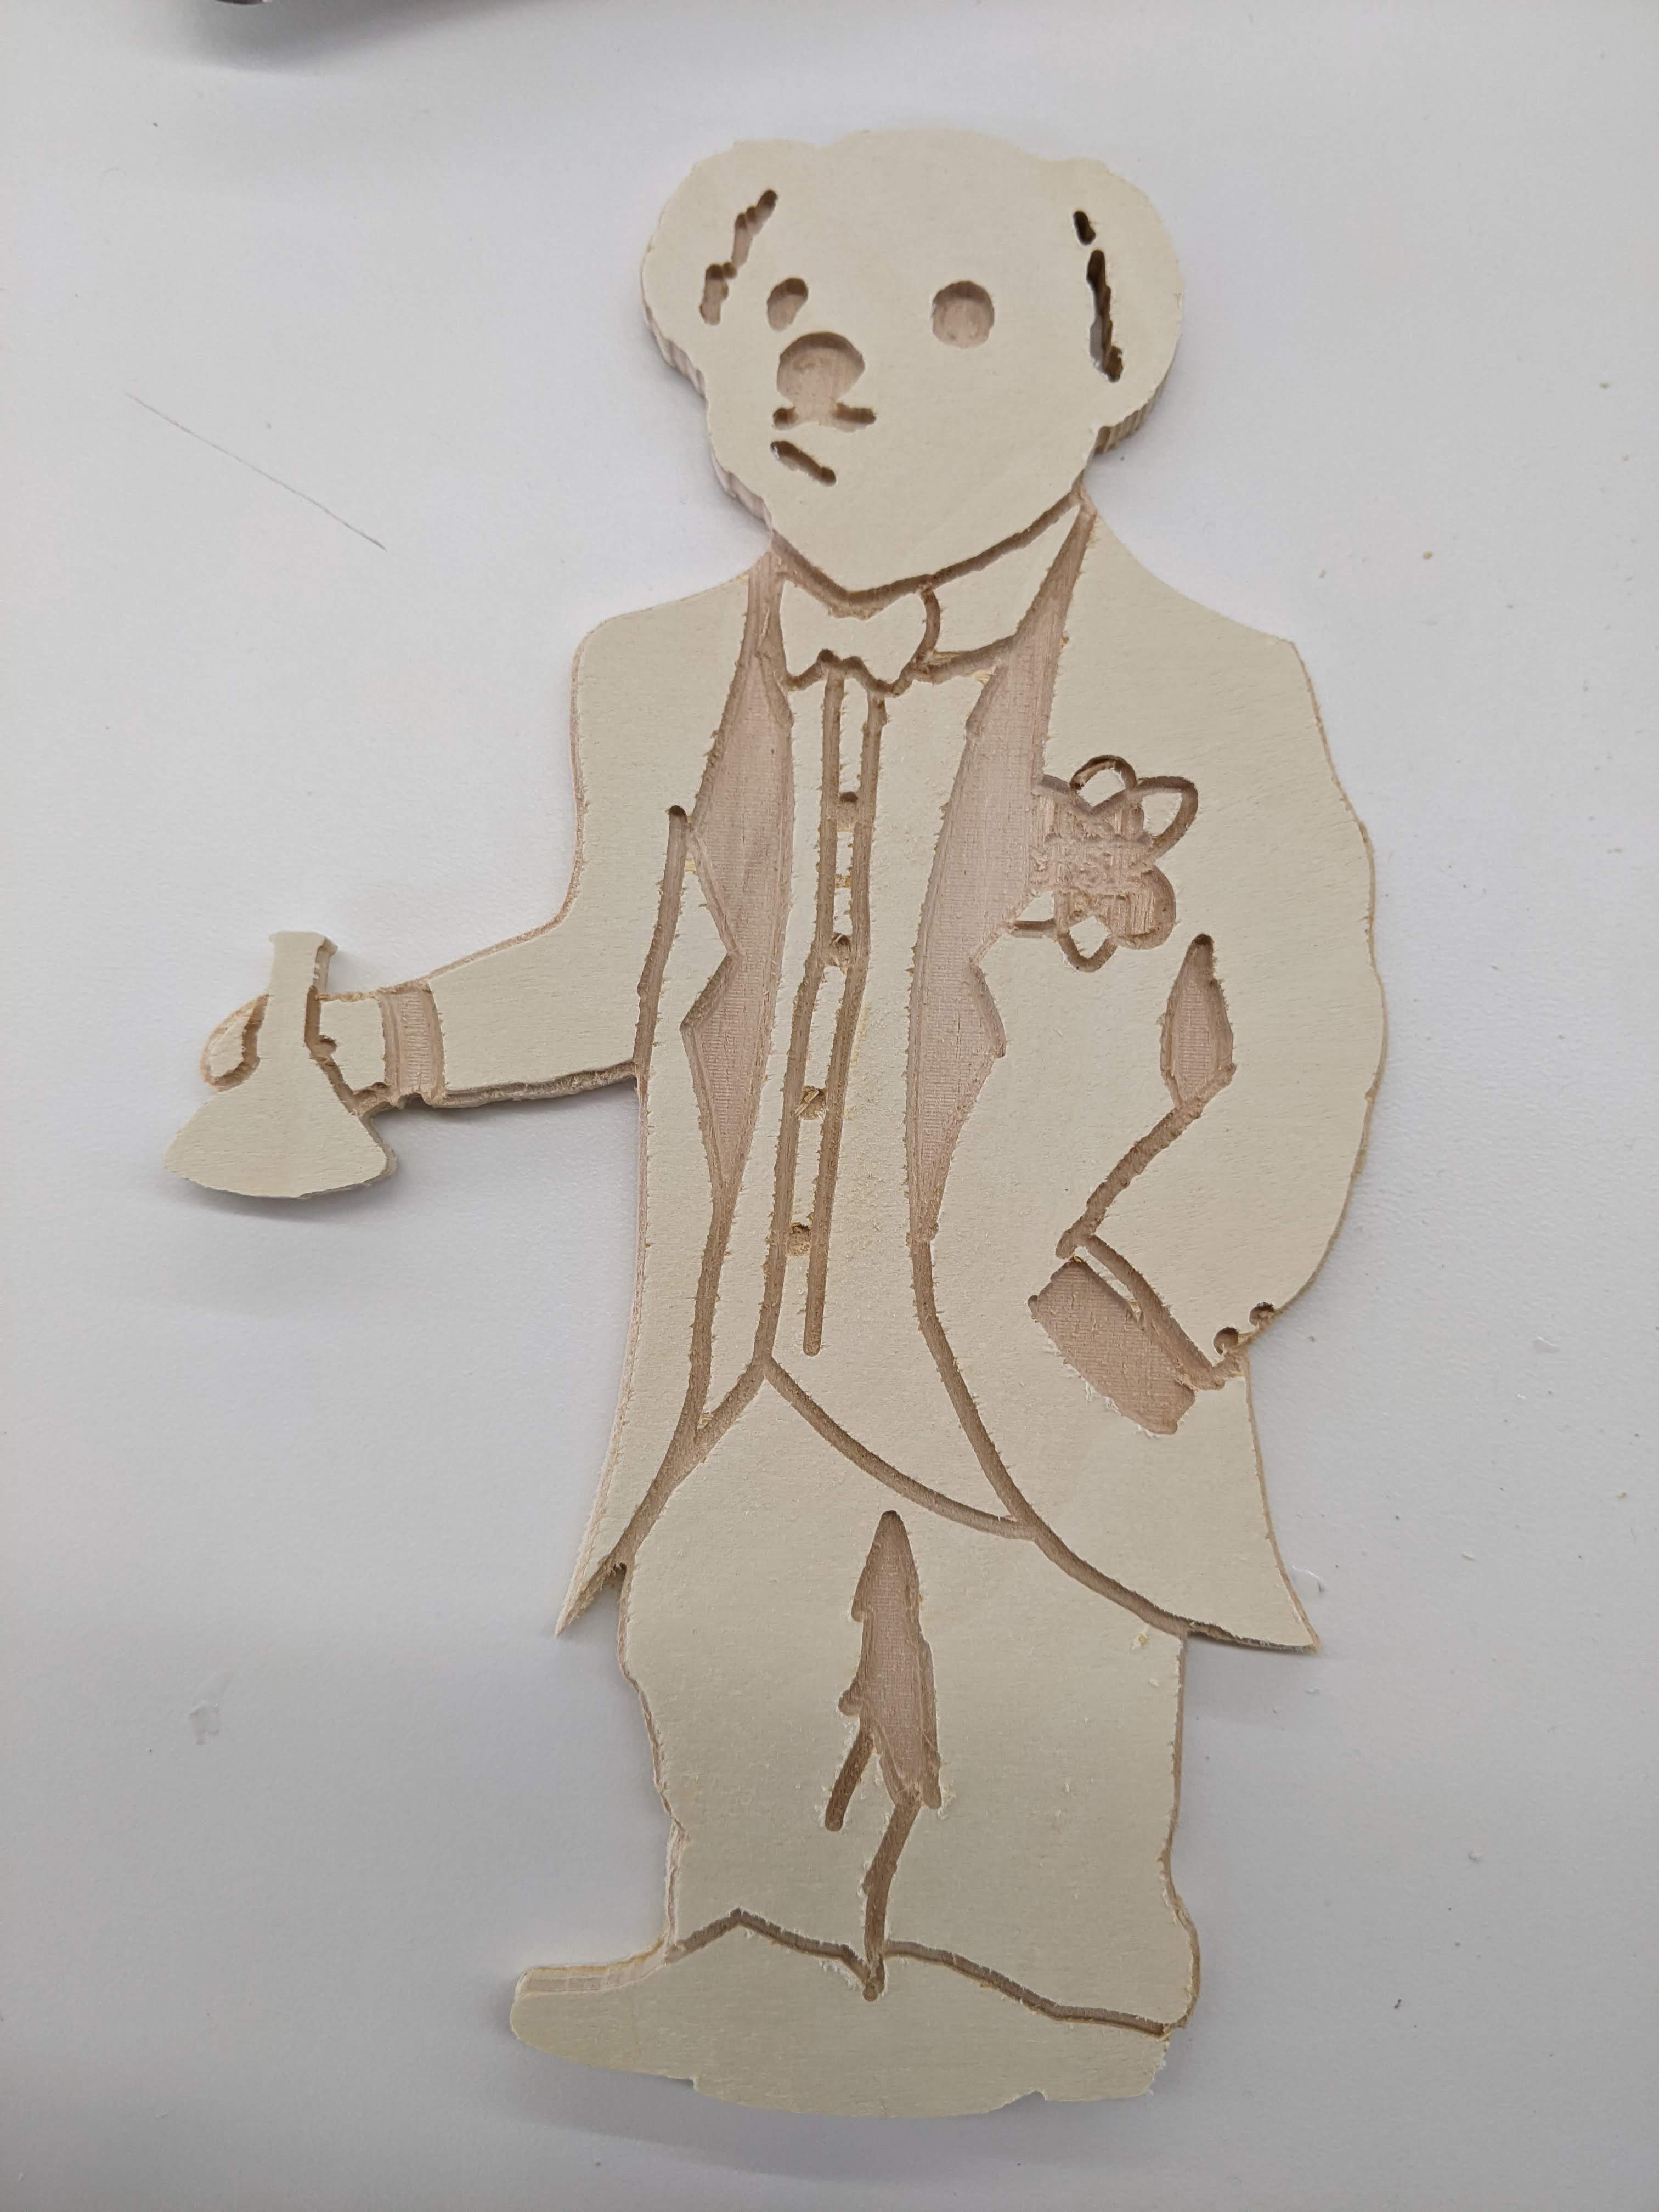
Post-Sanding Post-Processing
The second assignment was to post-process a design using fabrication processes such as molding and casting, vacuum forming, or composites. I thought it would have been difficult to post-process the bear design because there were so many tiny holes and details, so I decided to start afresh. Inspired by my recent trip to Switzerland, I decided to make some chocolates of the Matterhorn, the famous mountain in Zermatt, Switzerland on the Toblerone chocolate packaging.
I first took an image from the internet, traced the bitmap in Inkscape, and imported it into Fusion 360 to extrude the 2.5D model. I exported it as a STL file and moved over to the Roland software for the SRM-20 machine. After scaling the model to the right size, setting the right parameters, taping down the wax block, and zeroing the 1/16 inch end mill, I created the tool path and let it cut!
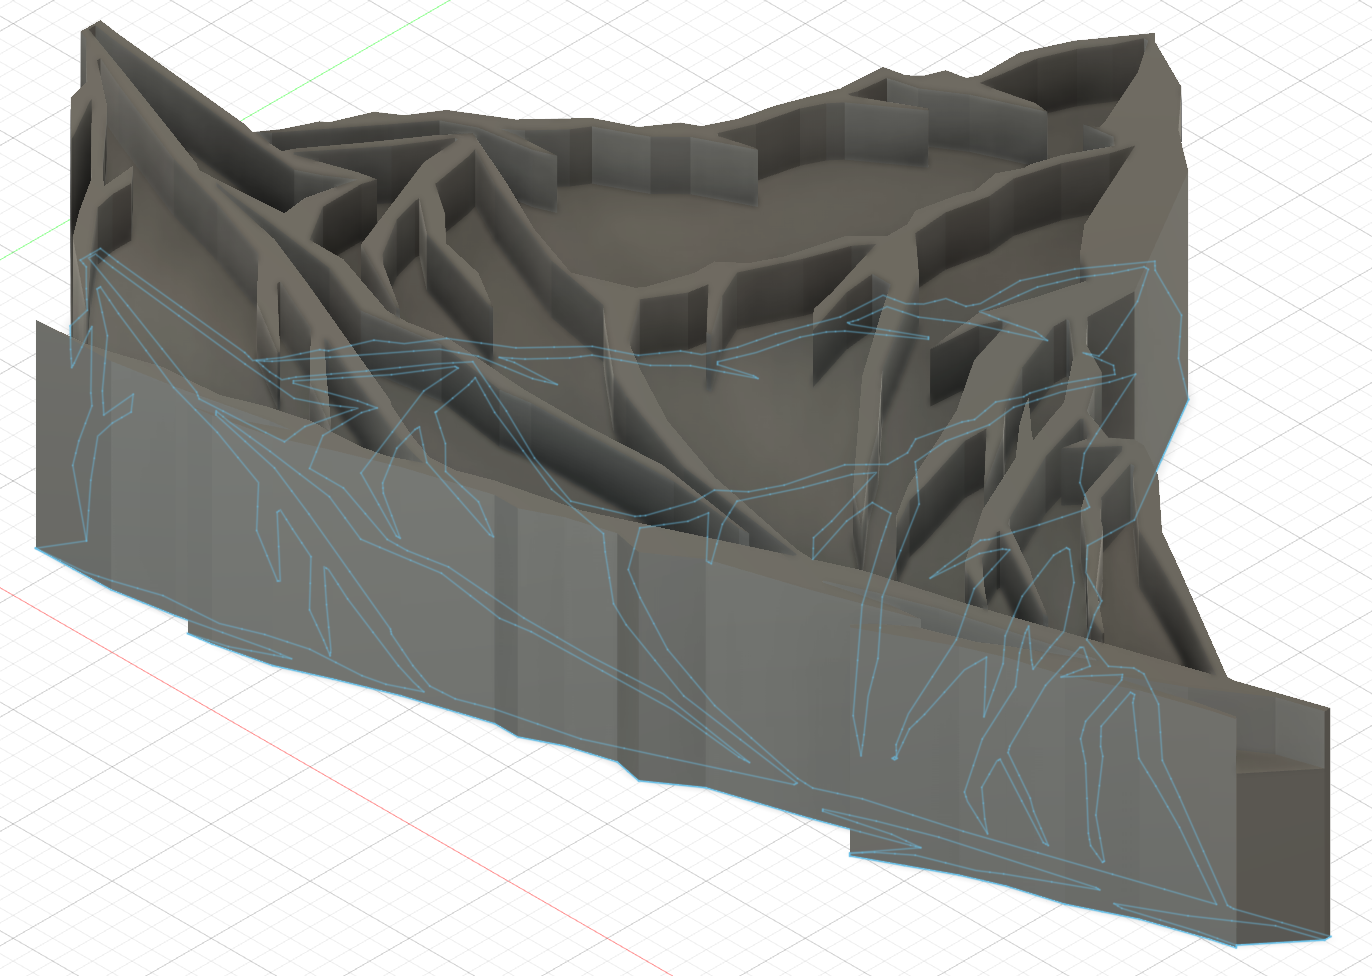
Model in Fusion 360 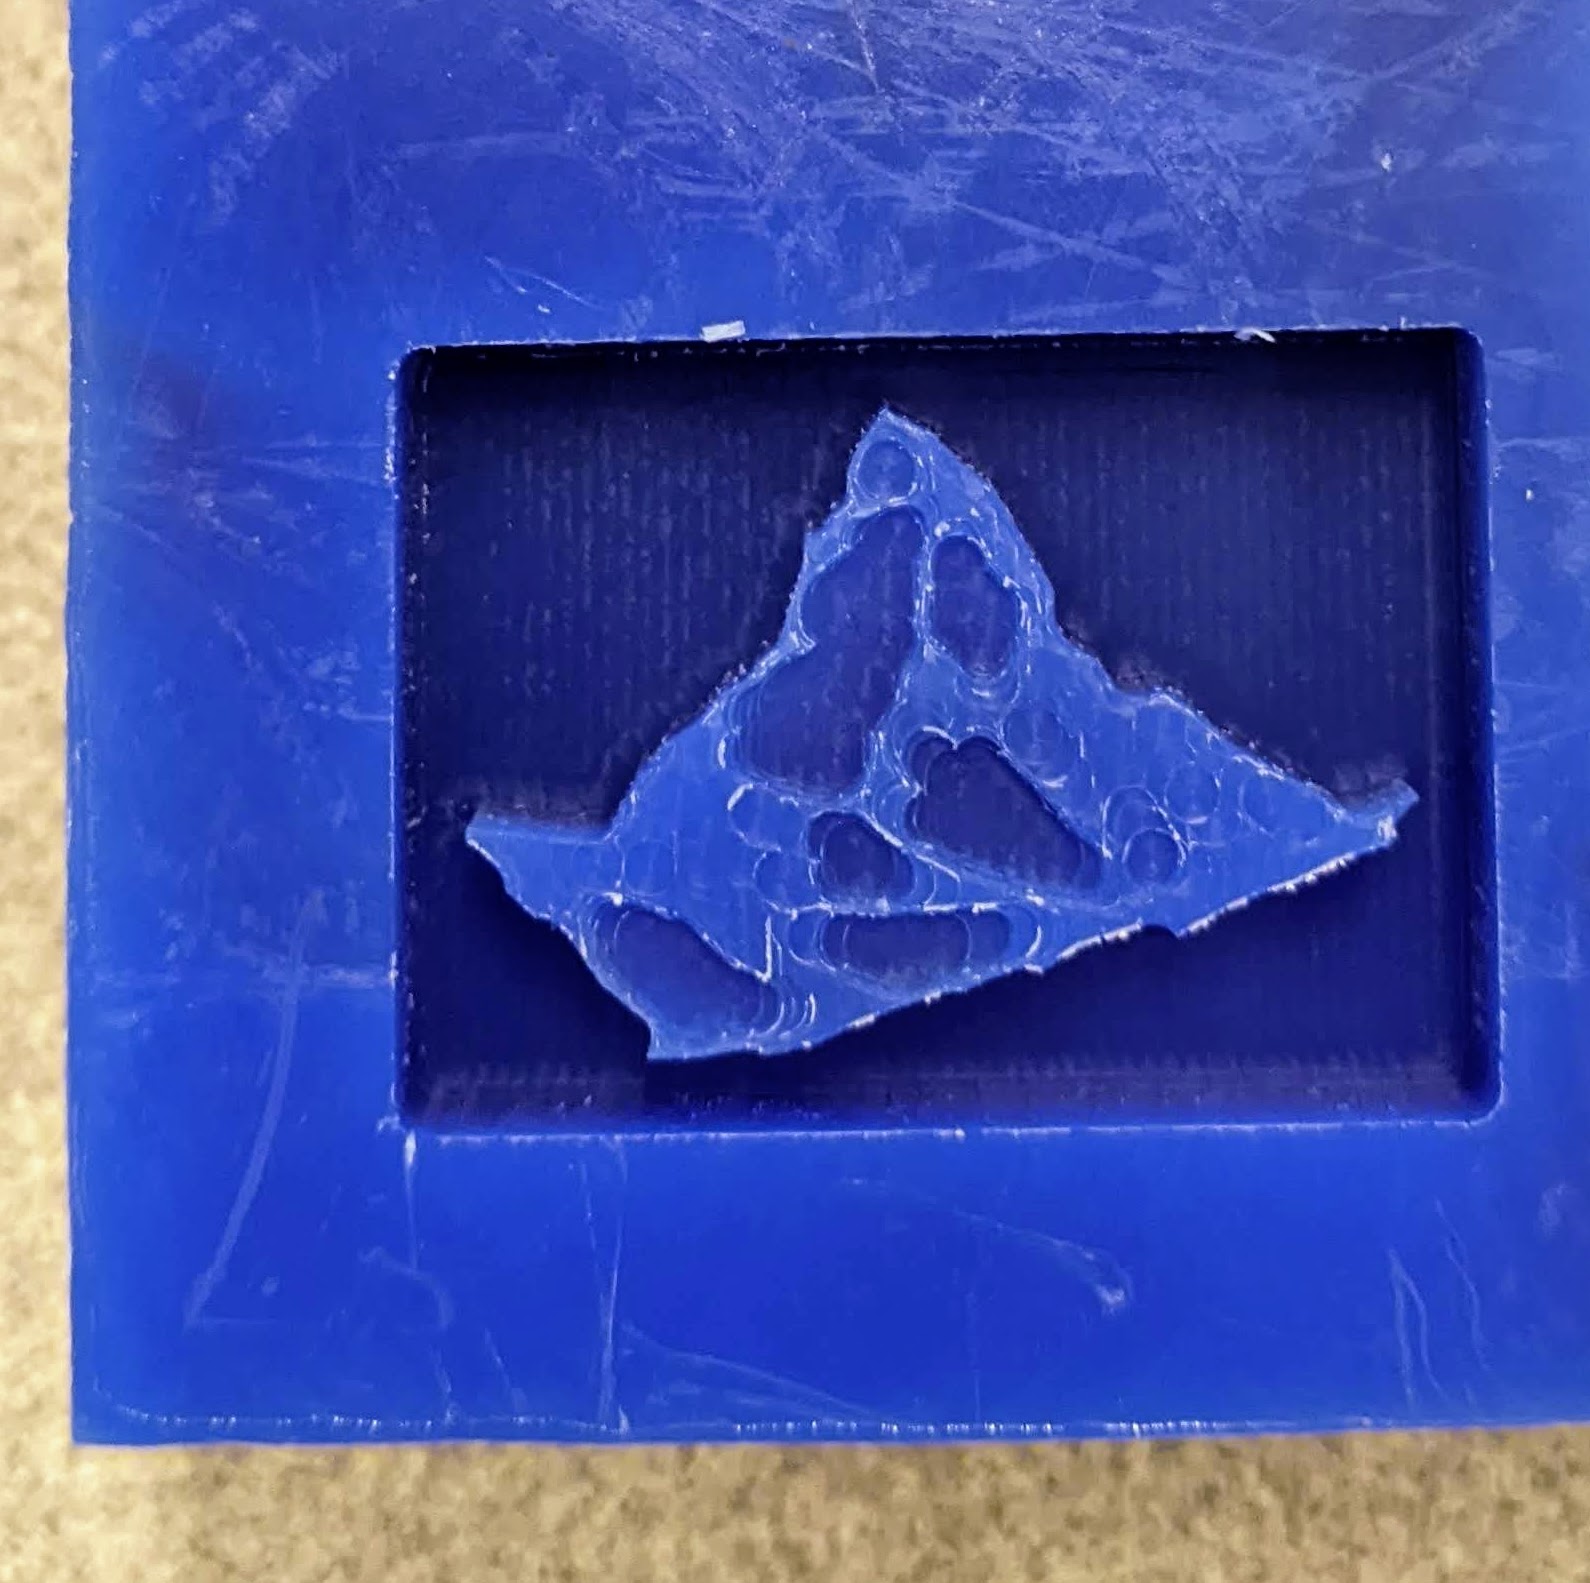
Wax Block Fresh Out of the SRM-20 It turned out okay though the design was too small to get all the cavities and sharp corners inside the mountain. Unfortunately I had to keep it pretty small because we had ran out of new wax at this point in the week, so I only had a few smaller parts of old wax blocks to work with. I think this would have been better with a 1/32 inch end mill and a larger piece of stock material.
The next step was creating the silicone mold. I measured the parts by volume, mixed them together, and poured it into the wax block. Several hours later, the silicone had set, so I cut it out with a sharp knife. I realized the surface was quite thin; next time I will change the bounding box so that the model is deeper into the wax block. Luckily it did not crack, so I melted some chocolate and poured it in!
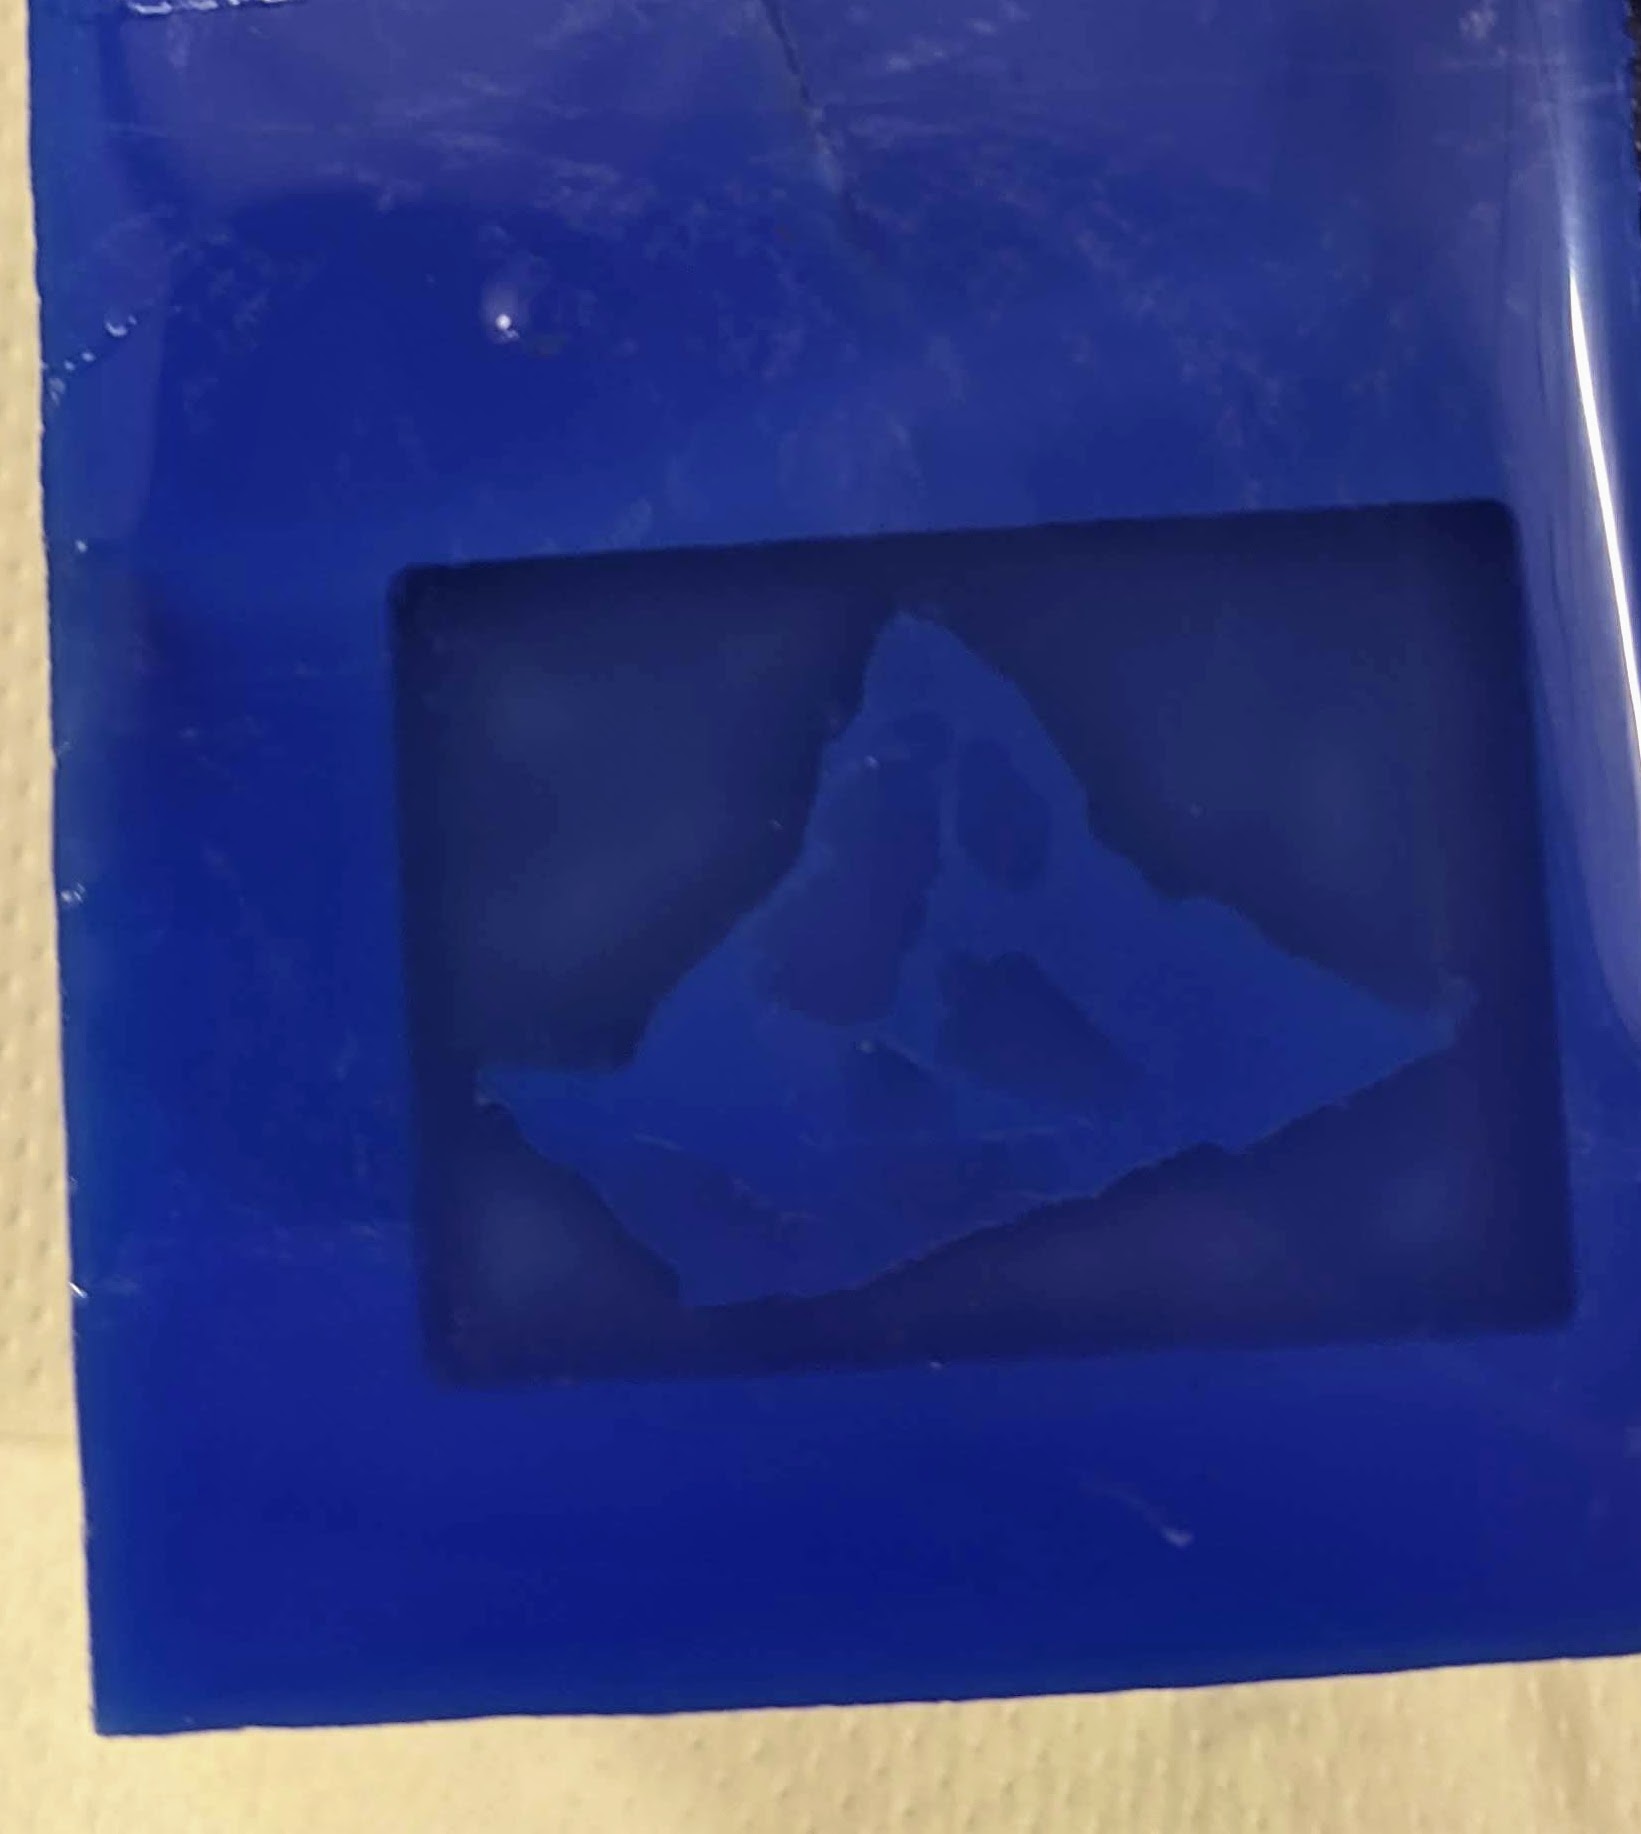
Silicone Inside Wax Block 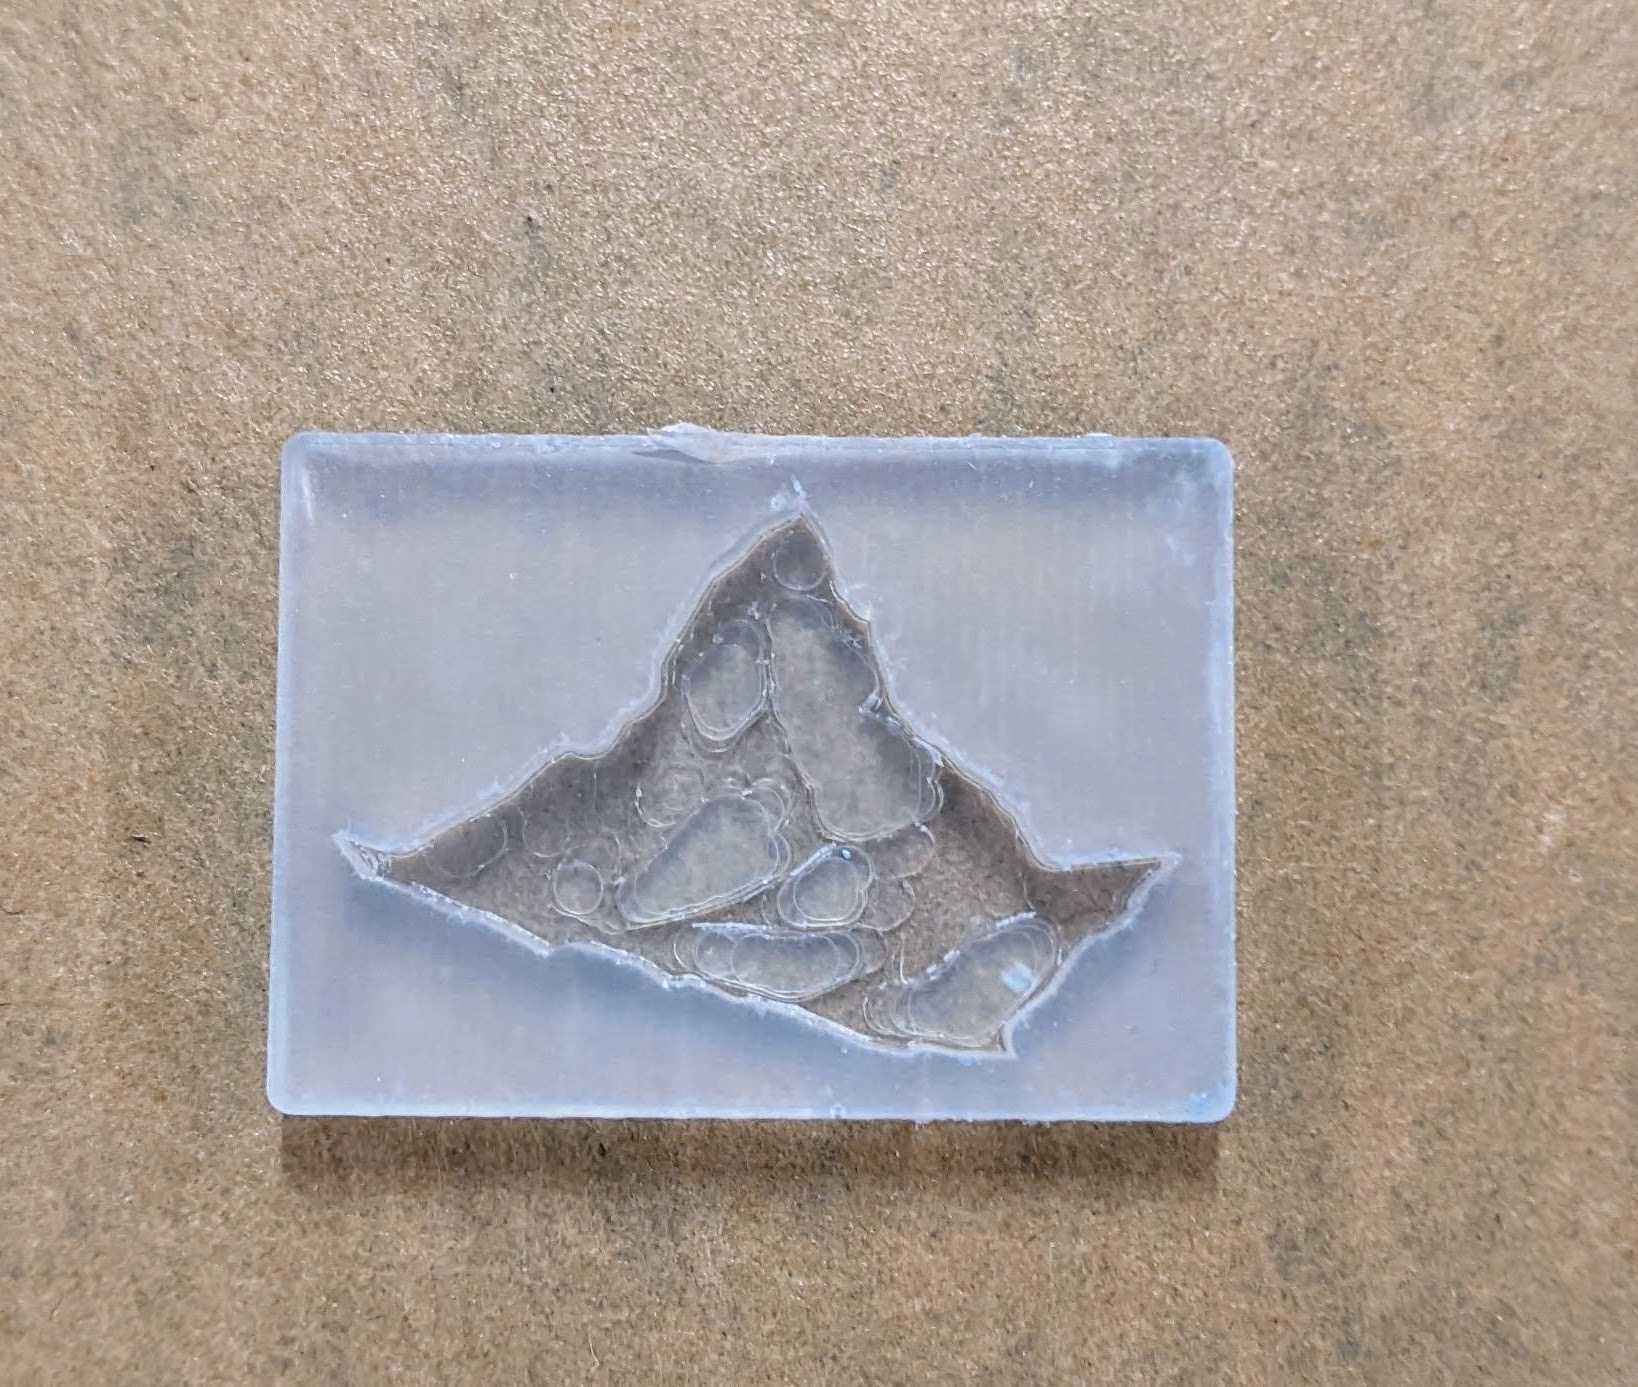
Silicone Mold 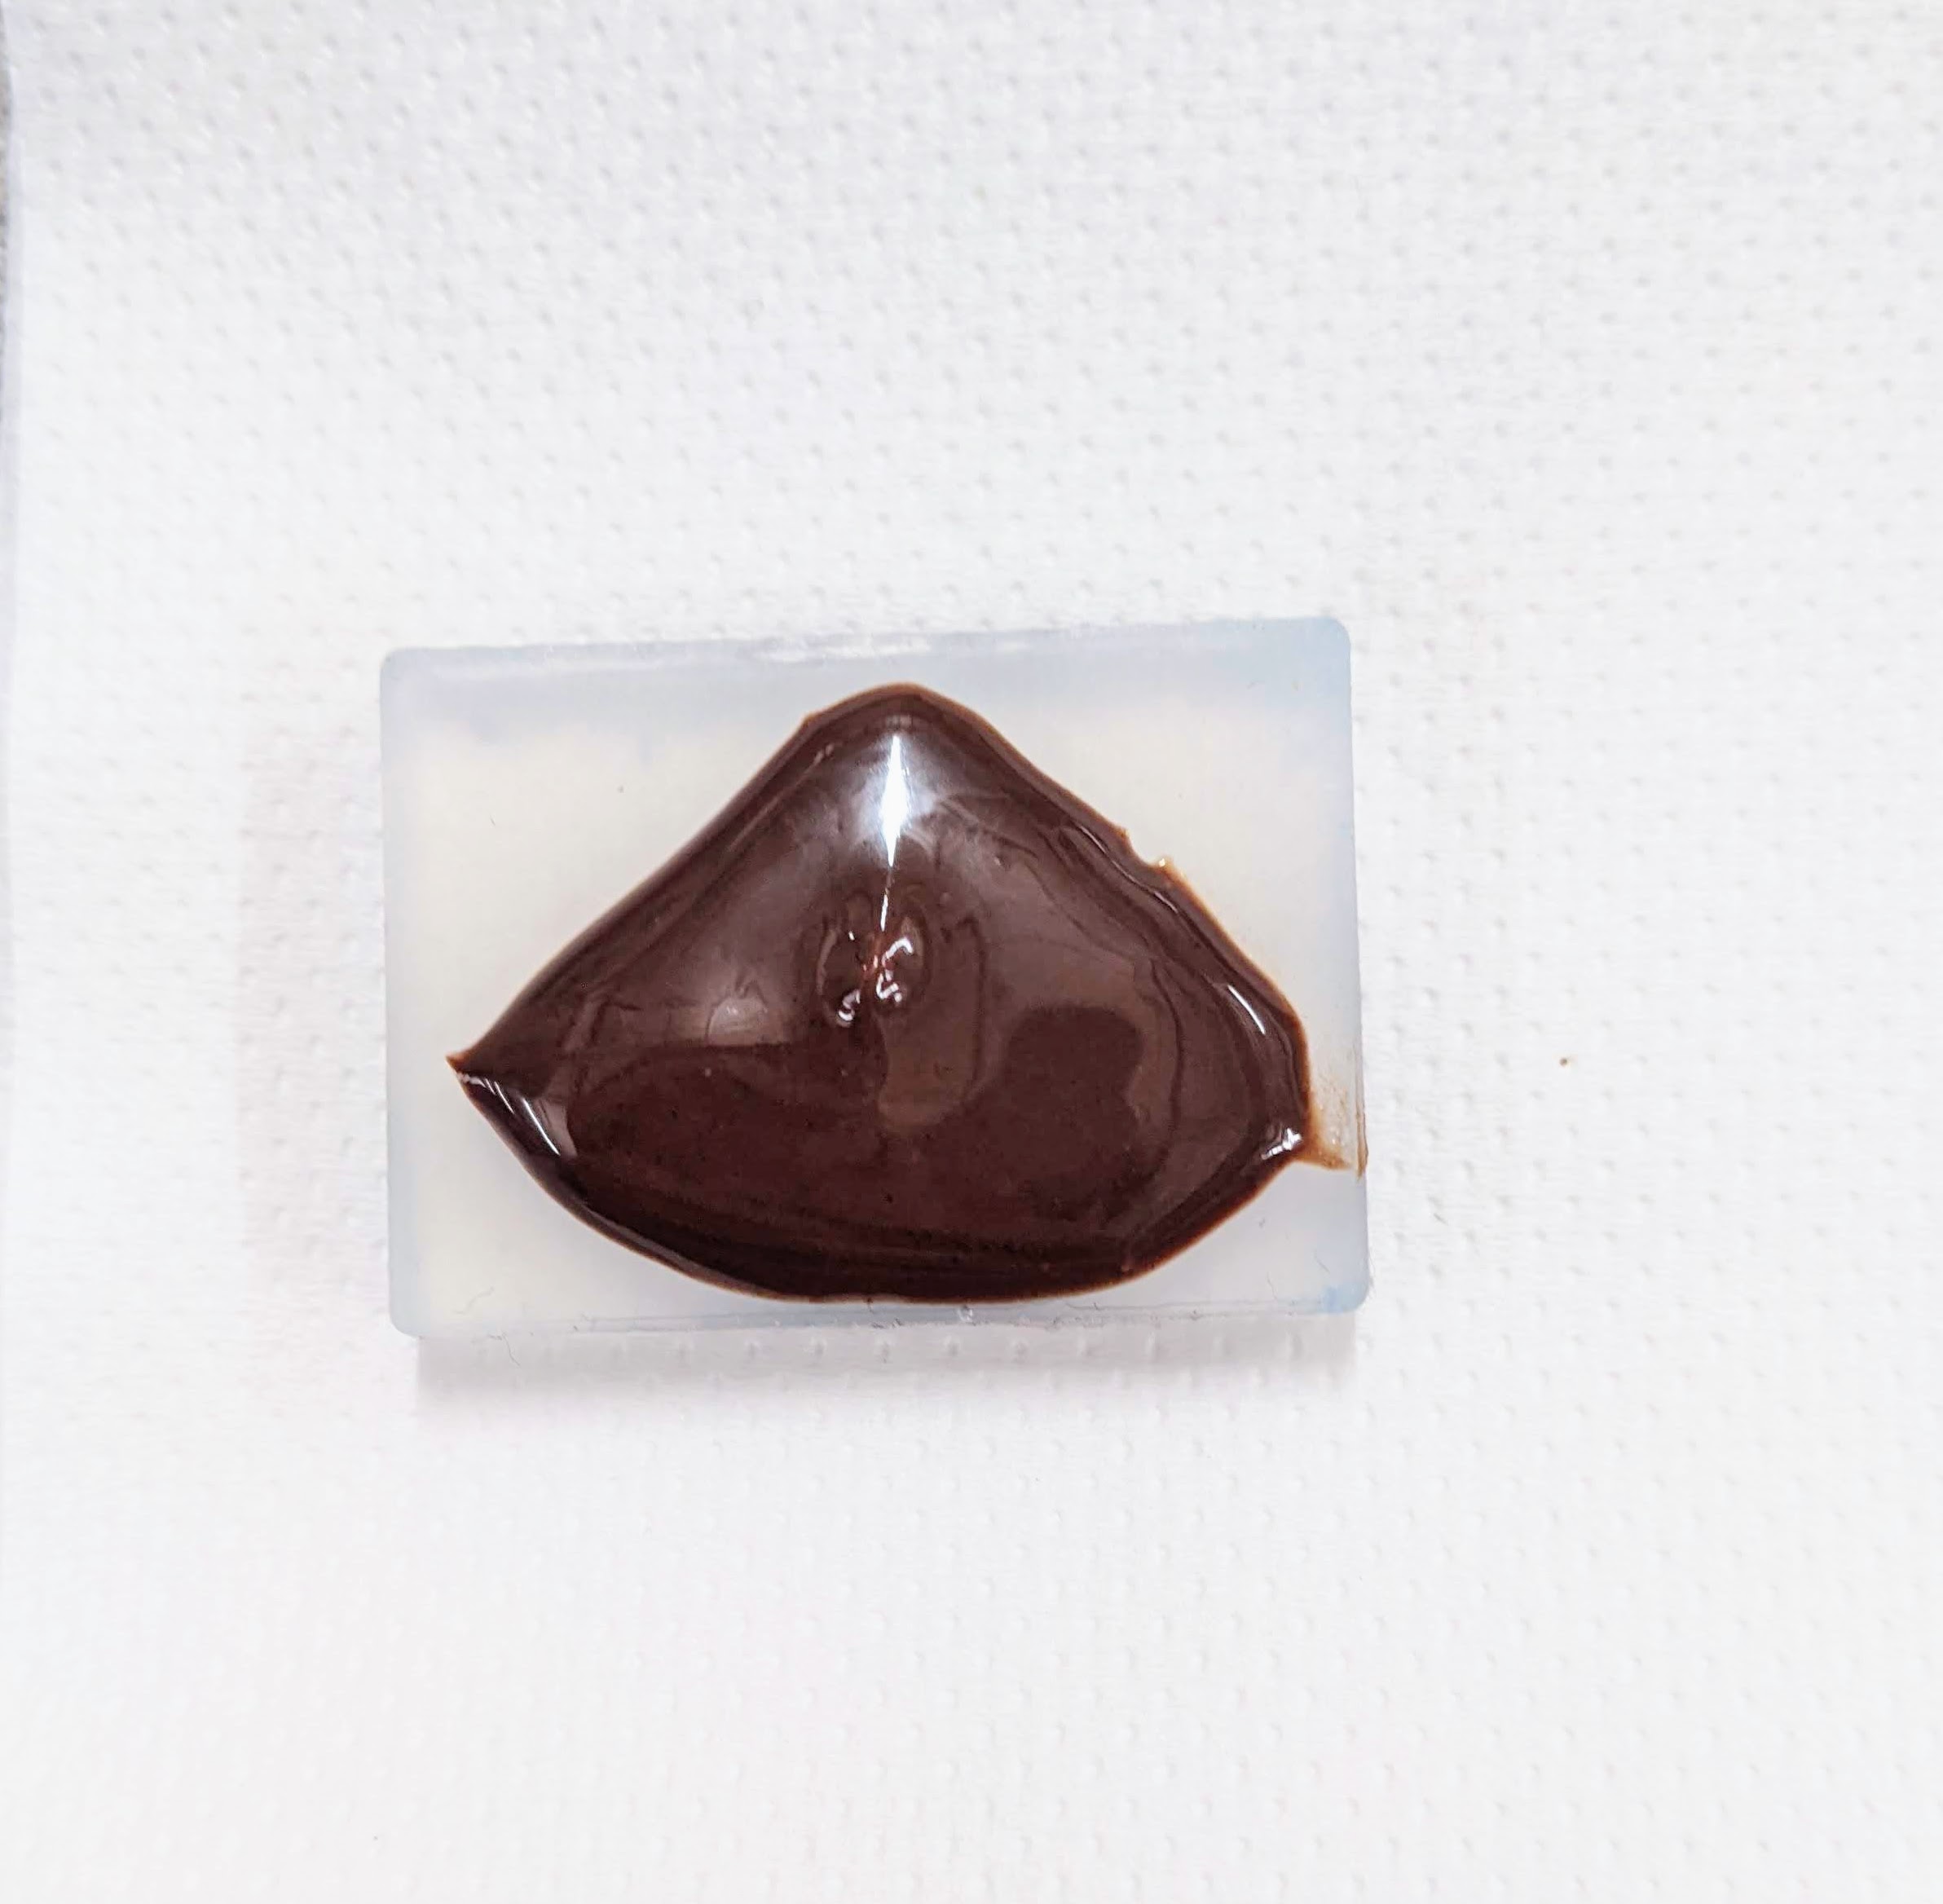
Chocolate in Mold Once the chocolate had set (this took a while because I didn't temper the chocolate oops), I removed it from the mold. I accidentally poured a bit too much chocolate and didn't level it before letting it set, so I trimmed the overflowed edges afterwards. Here's the finished product!
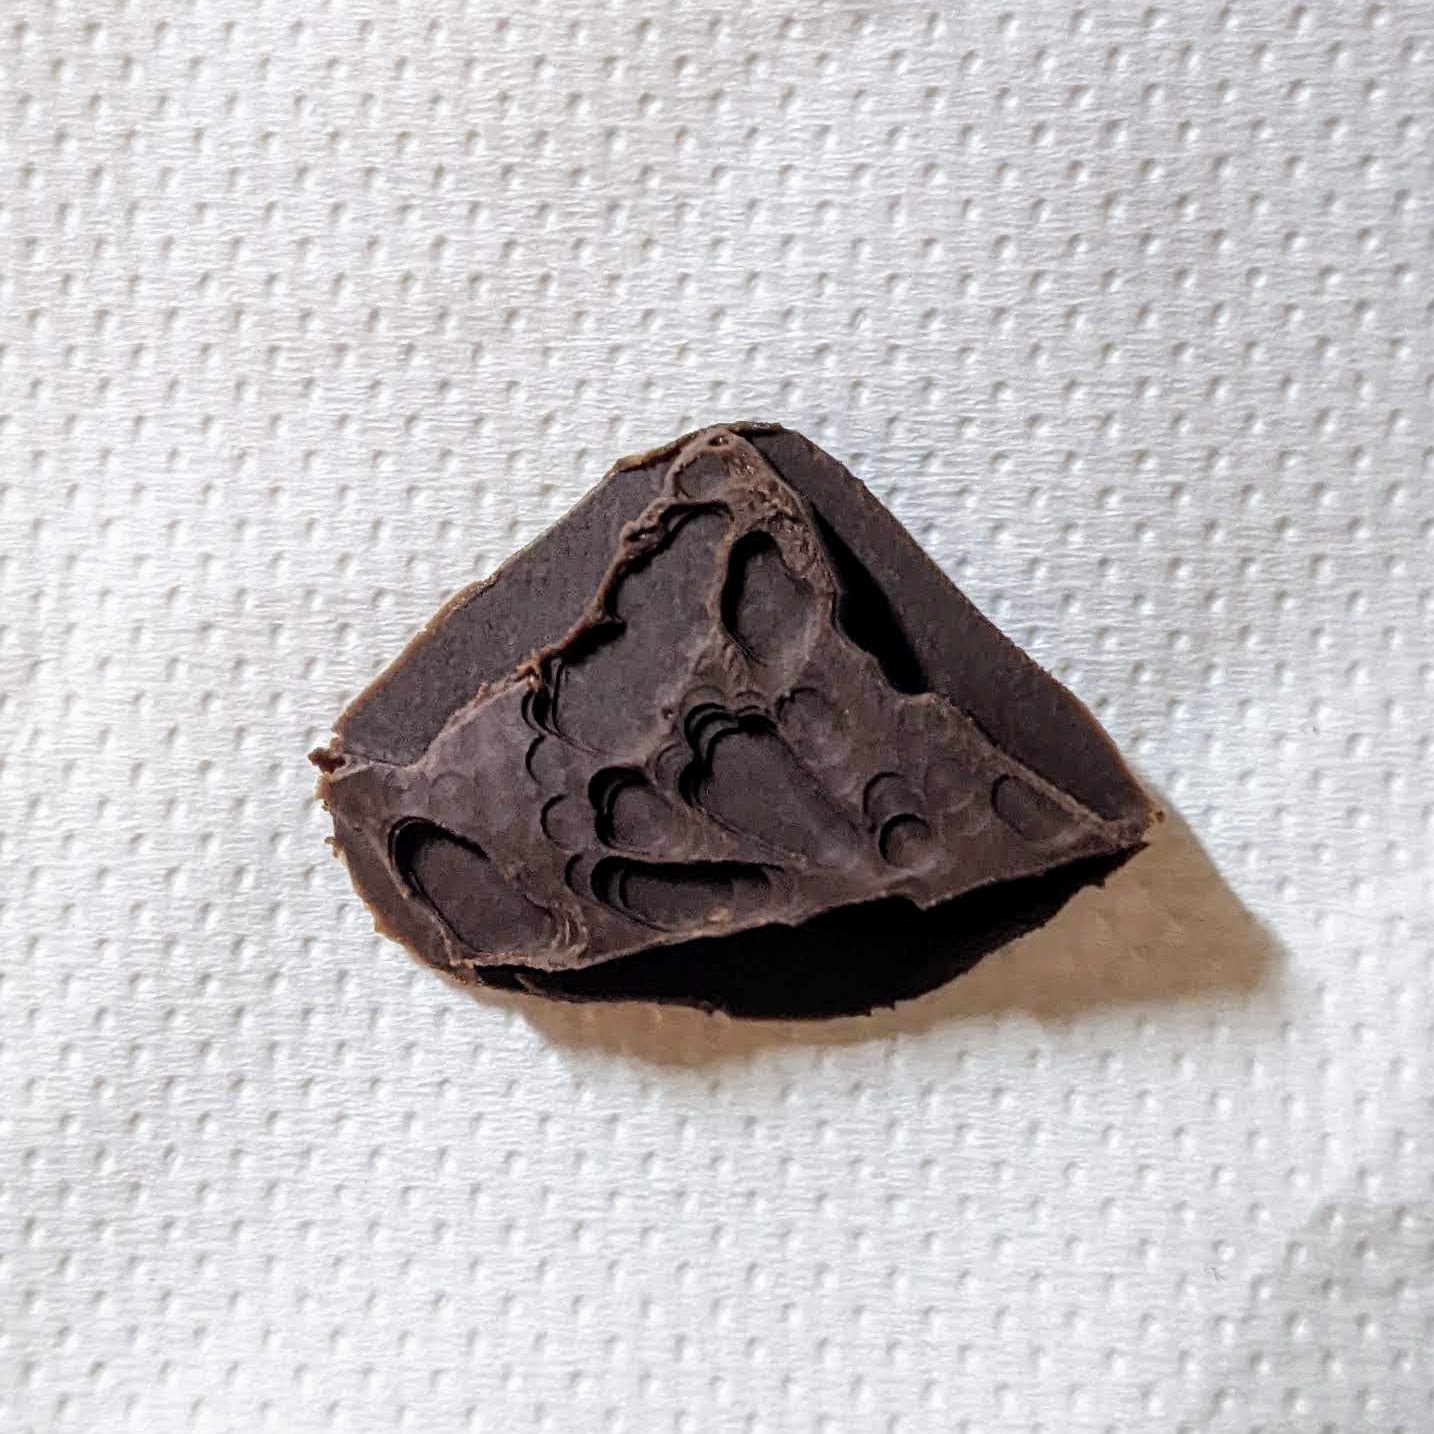
Chocolate Straight Out of Mold 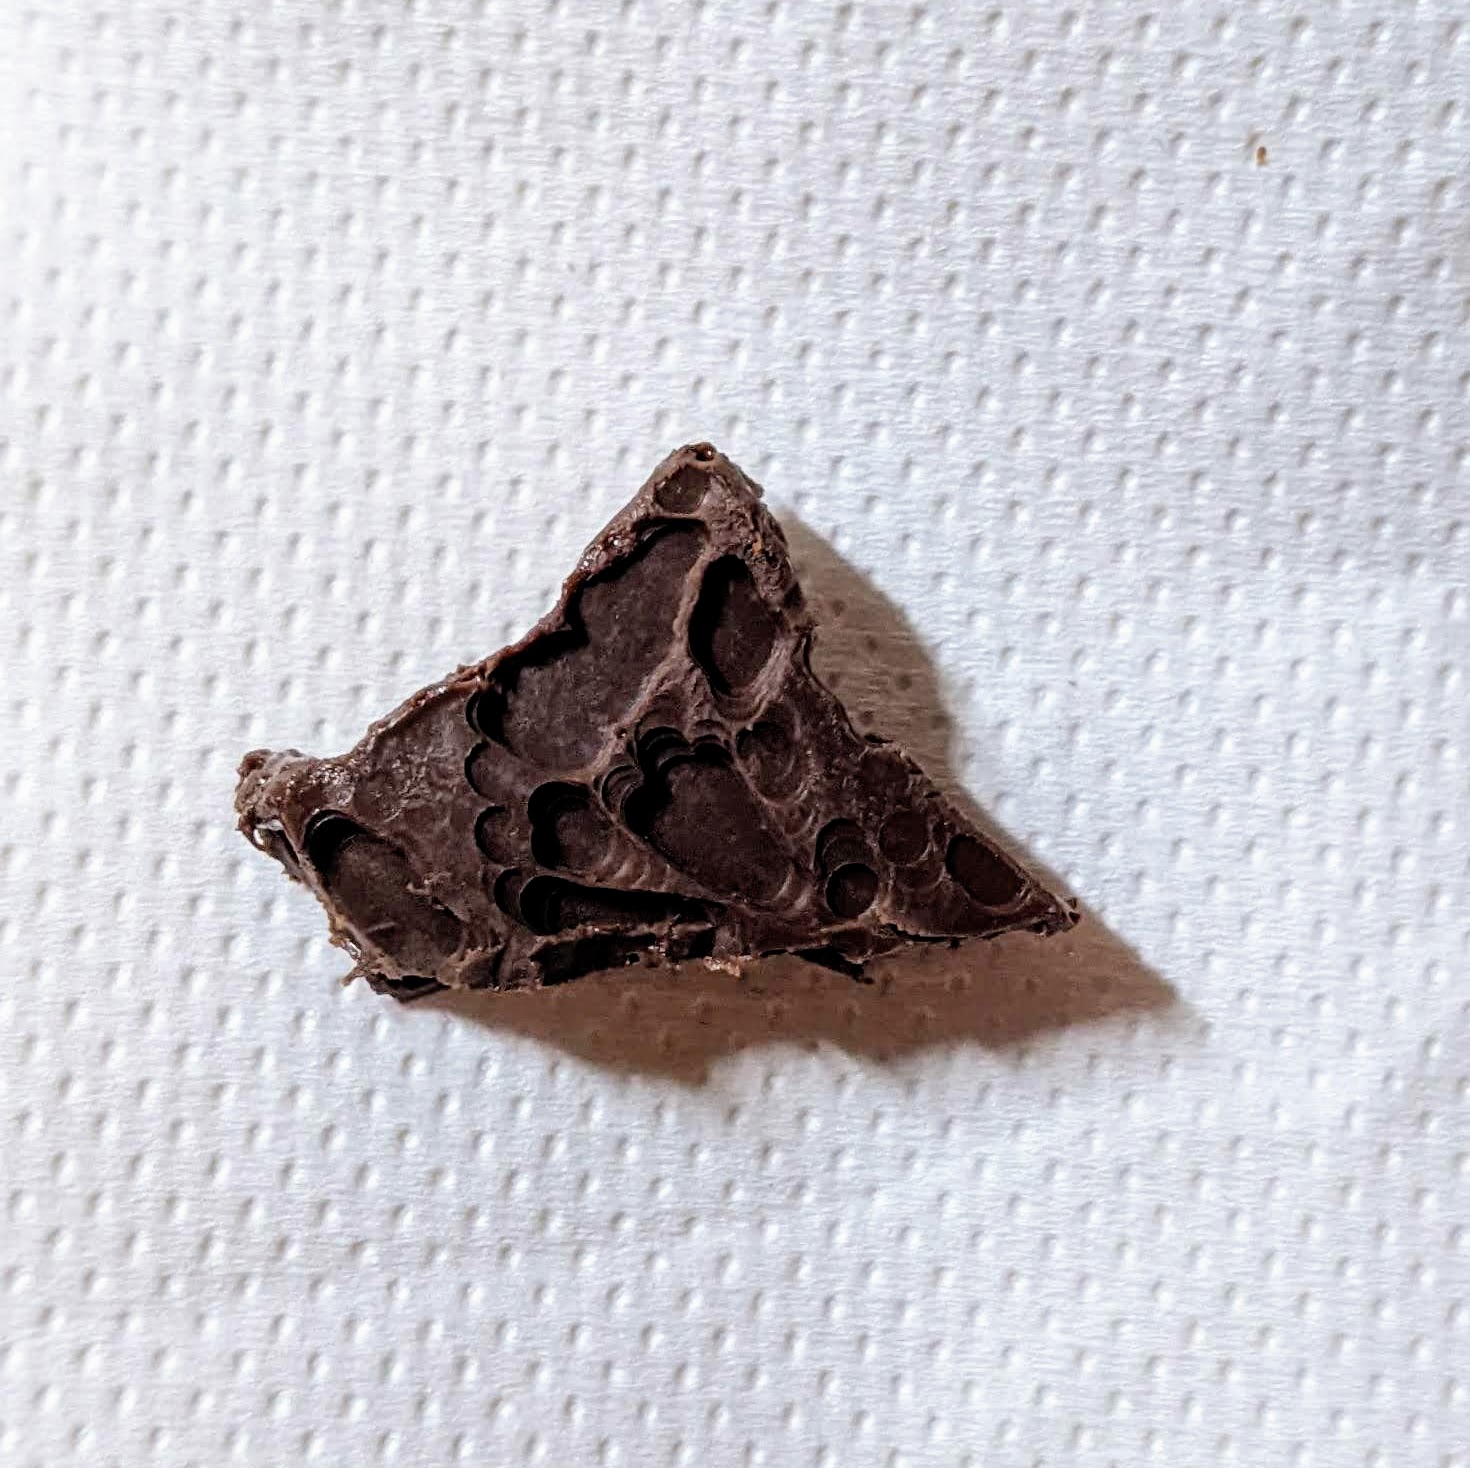
Chocolate After Trimming