-
This week, we learned how to operate the laser cutter and the vinyl cutter, as well as how to make basic designs in Fusion 360 and Inkscape.
Box
The first assignment was to make a shoe-sized box to hold our materials for the rest of the semester. Based on the tutorial in class, I decided to make a finger joint box.
The process involved first sketching the design in Fusion 360, exporting it as a DXF, cleaning the file up in Rhino, and then using the laser cutter to cut it out of a sheet of cardboard. My initial set of parameters in Fusion 360 included: length, width, height, thickness, and num_fingers. It took some time to figure out the tricks in Fusion 360, like rectangular pattern and mirroring. Parametrization was really helpful though! My first attempt at the box looked like this:
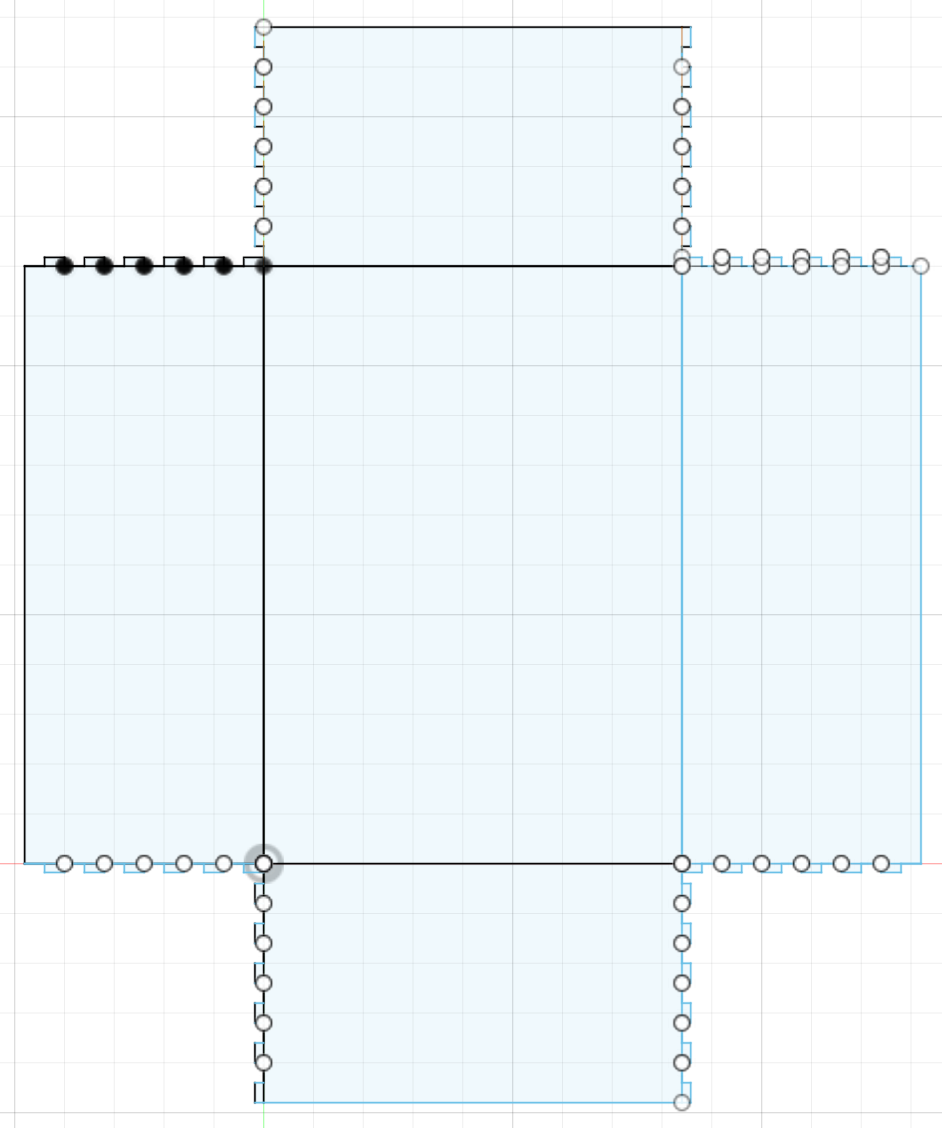
Box v1 in Fusion 360 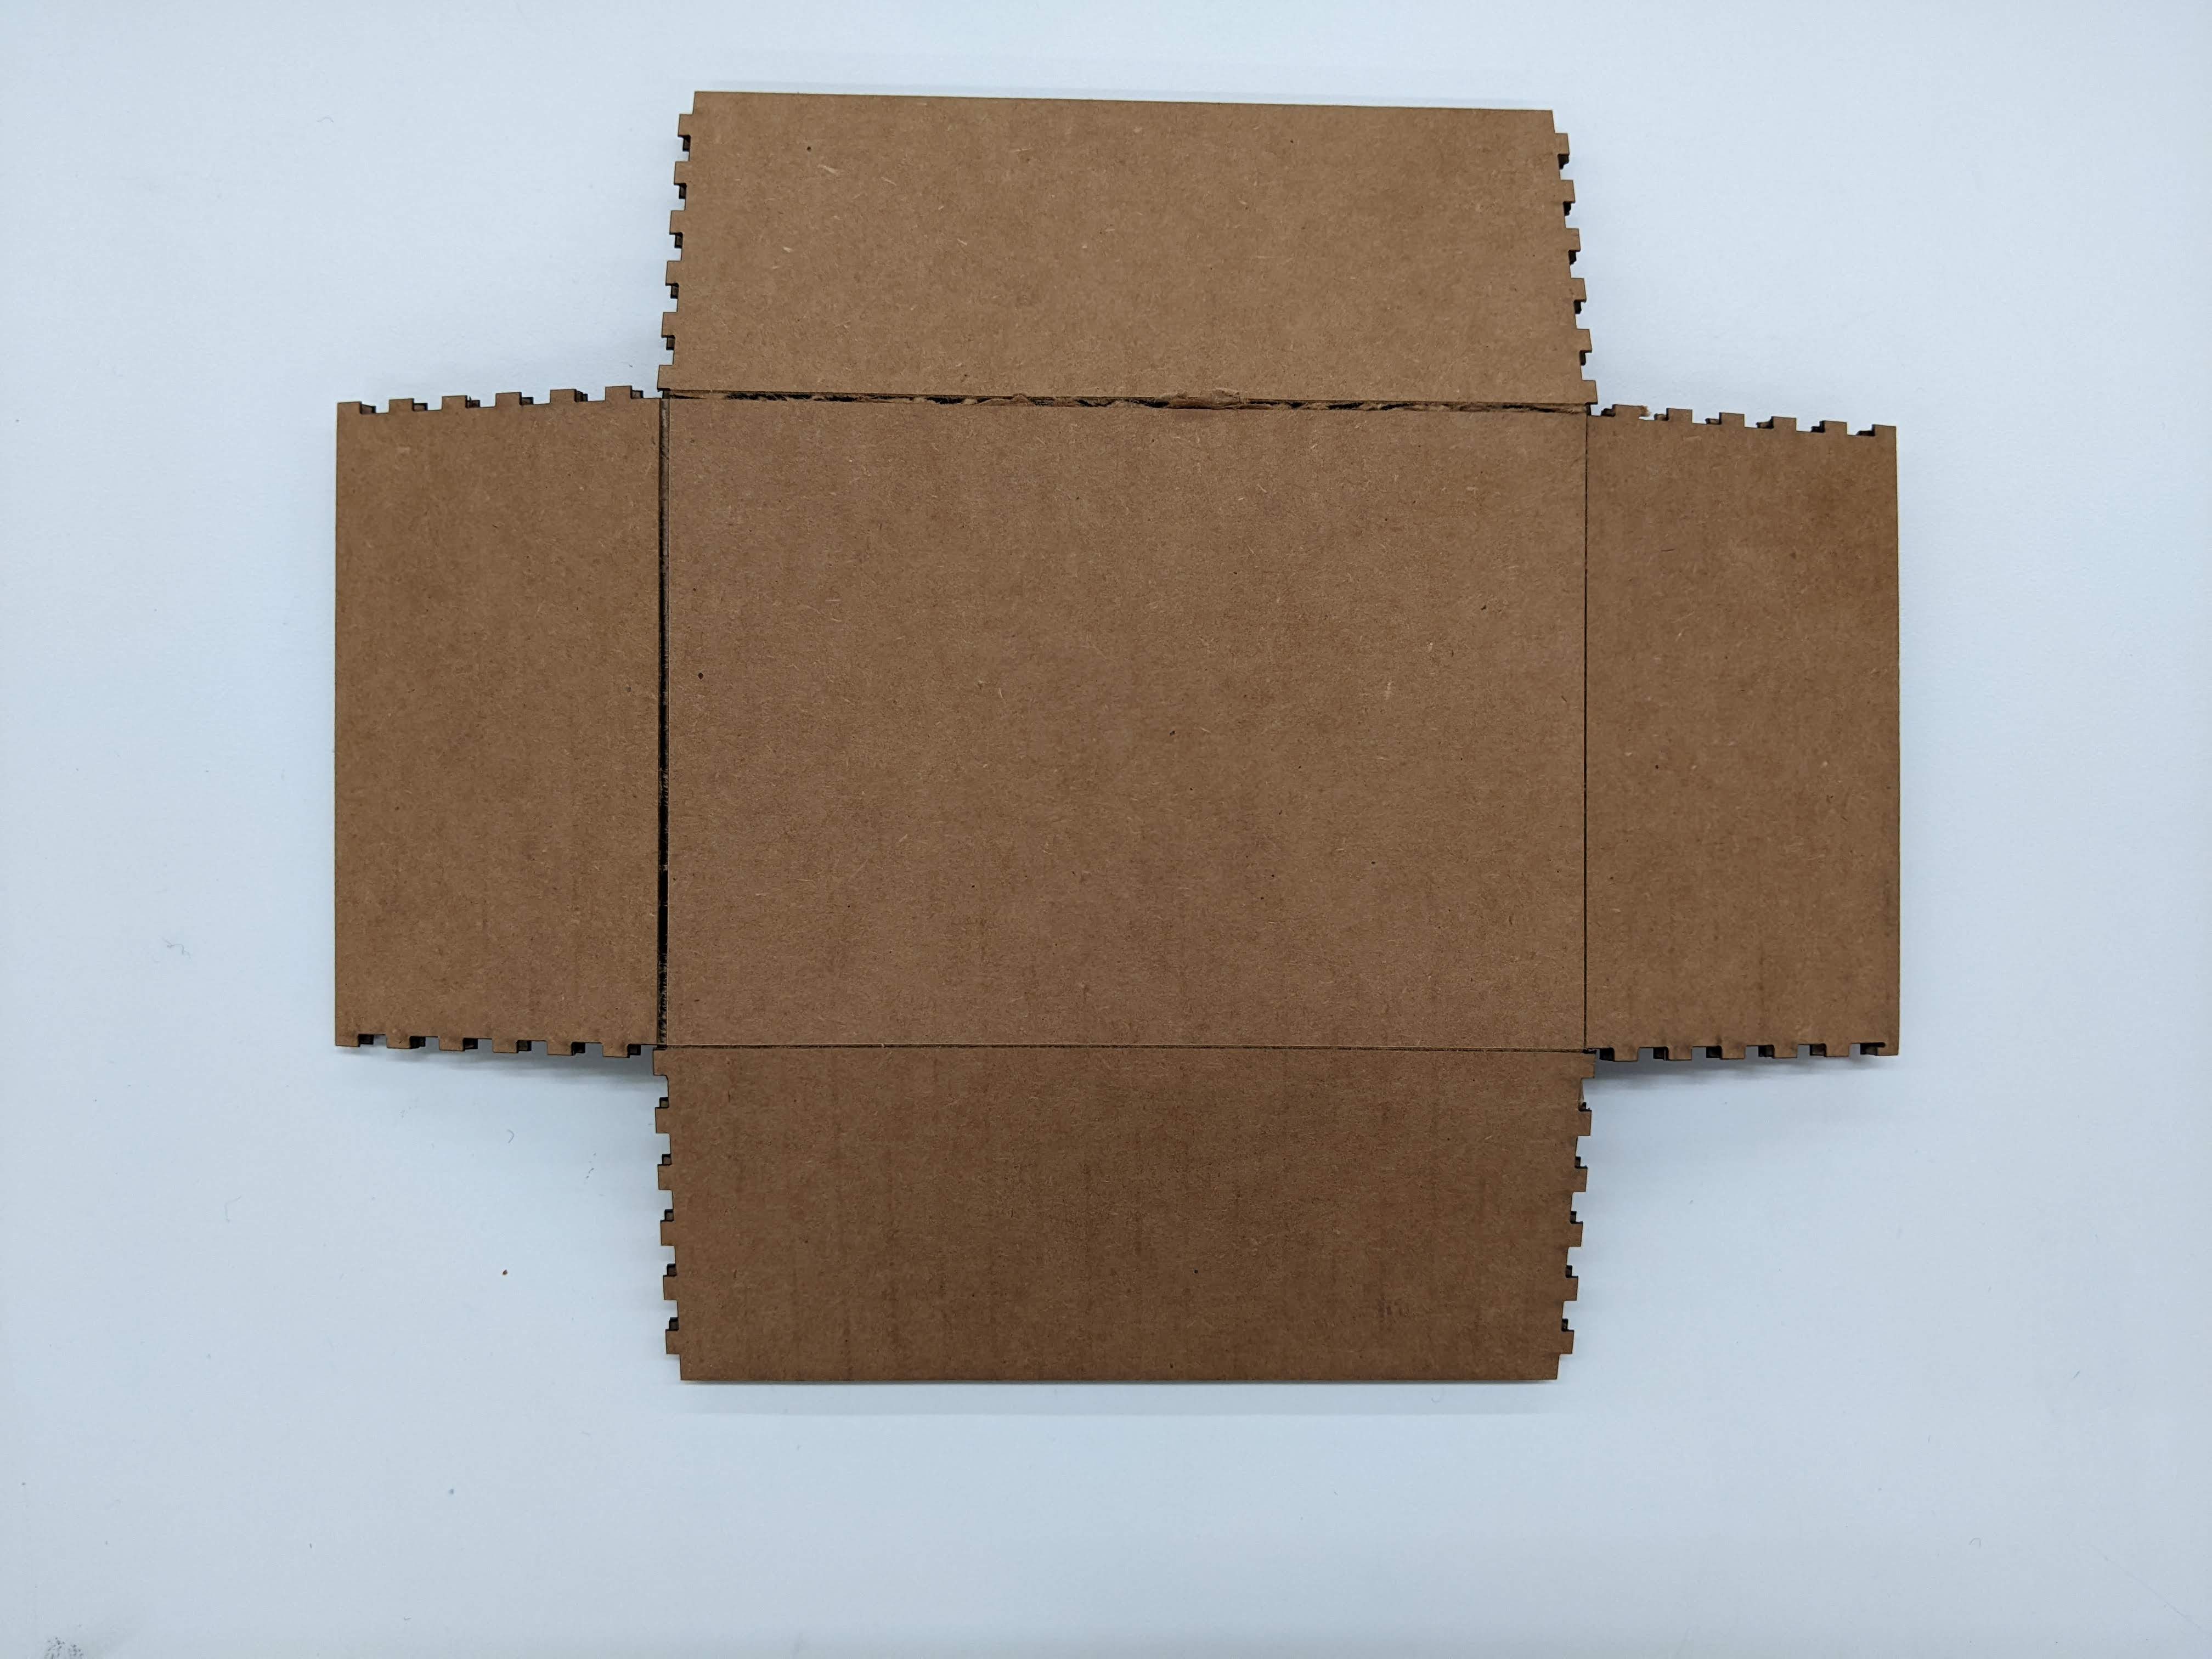
Box v1 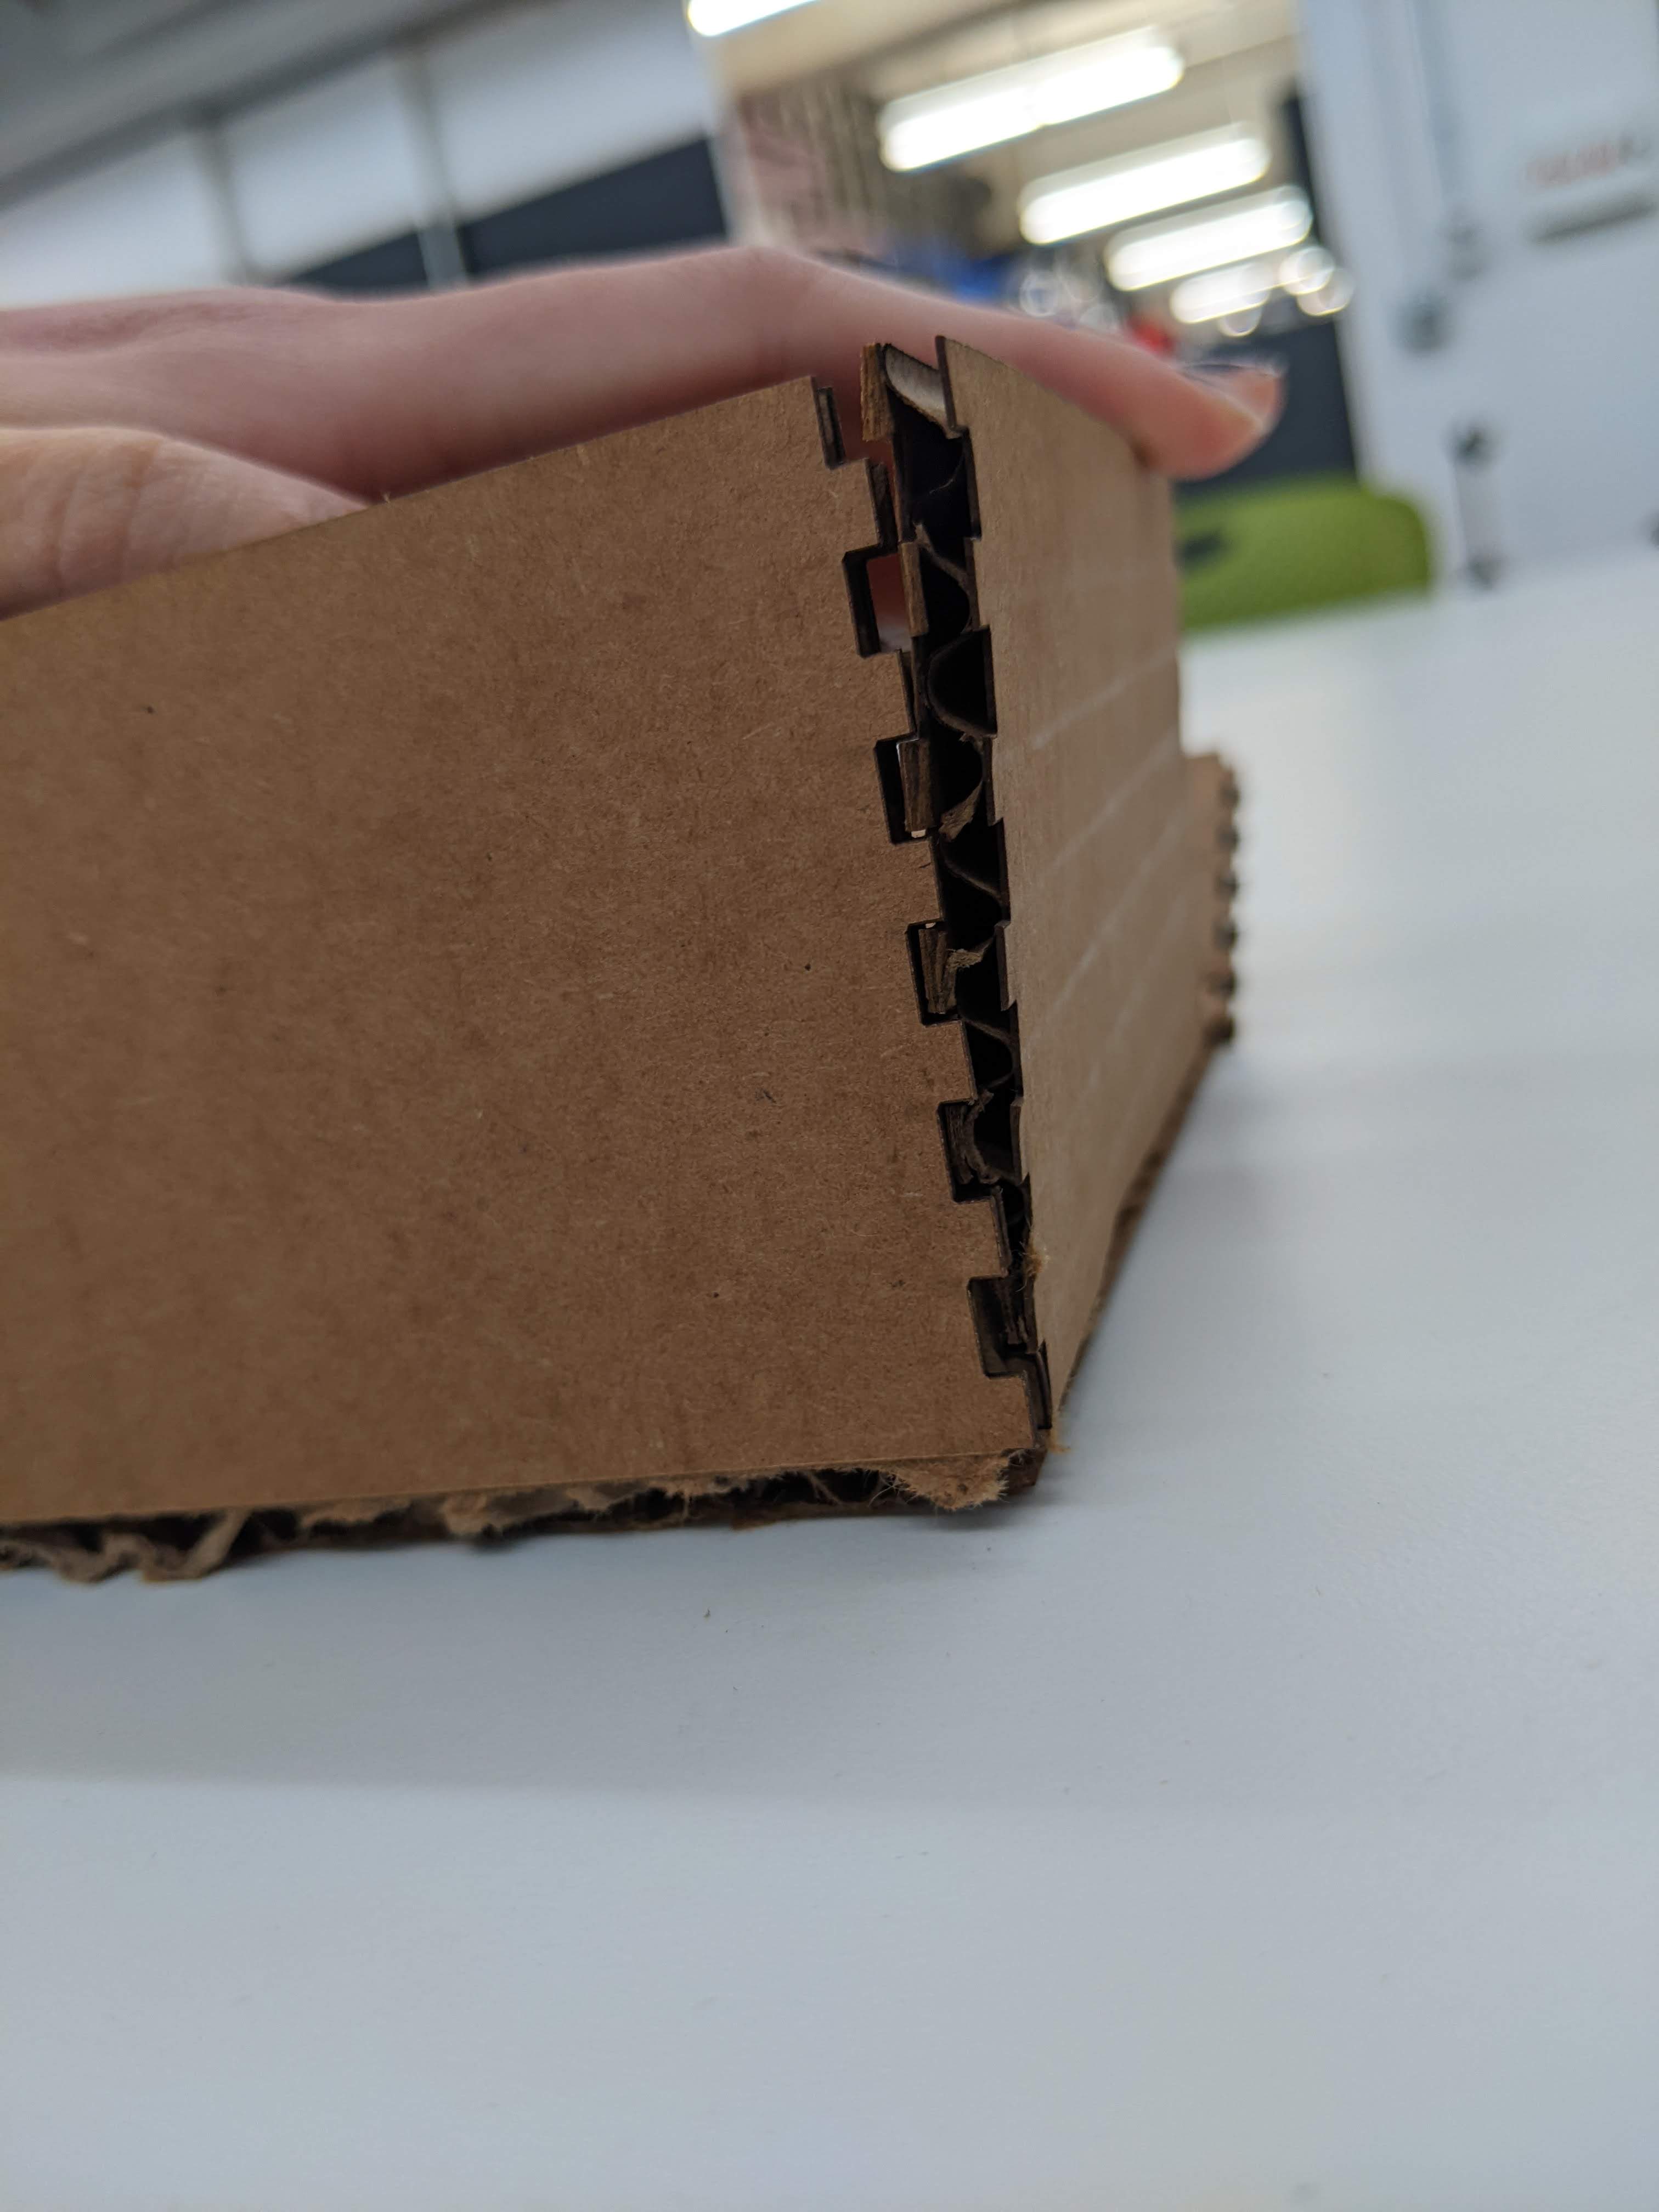
Box v1's fingers As expected, the pieces didn't fit together perfectly on the first try. After talking to Bobby, we concluded that there were two major things to fix. First, I needed to make the scoring lines deeper because the creases were a bit stiff. Second, I had to make the fingers larger (both longer and wider); if they are too small, they won't catch. As seen in the right picture, the tiny fingers didn't fit really well and weren't strong enough to hold the walls together.
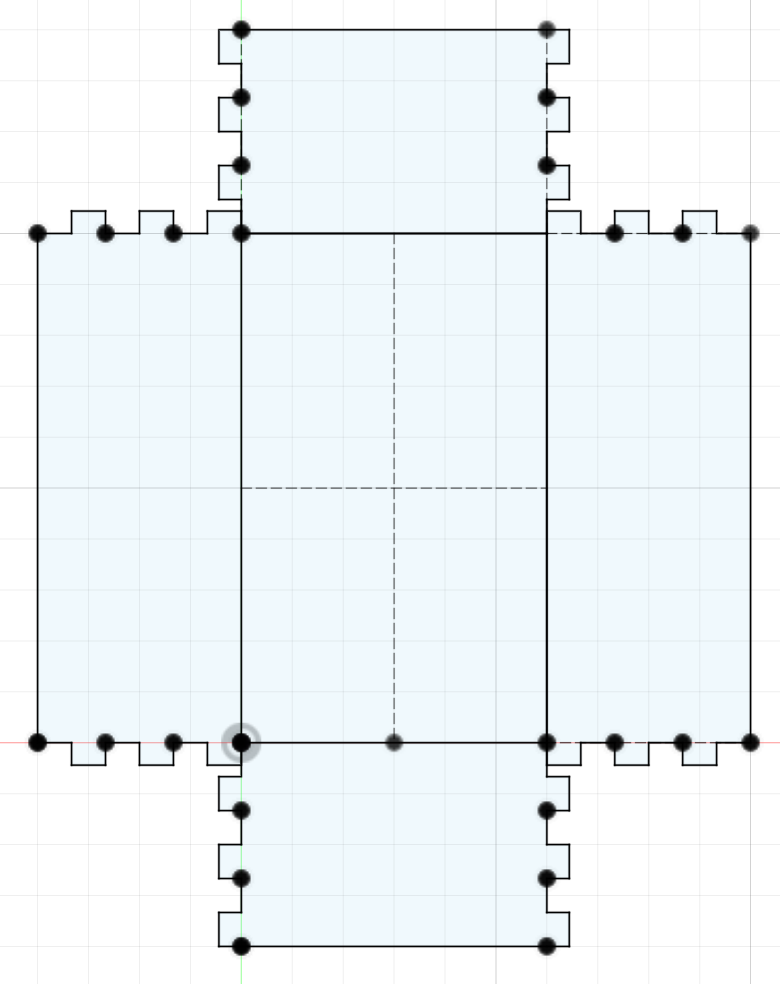
Box v2 in Fusion 360 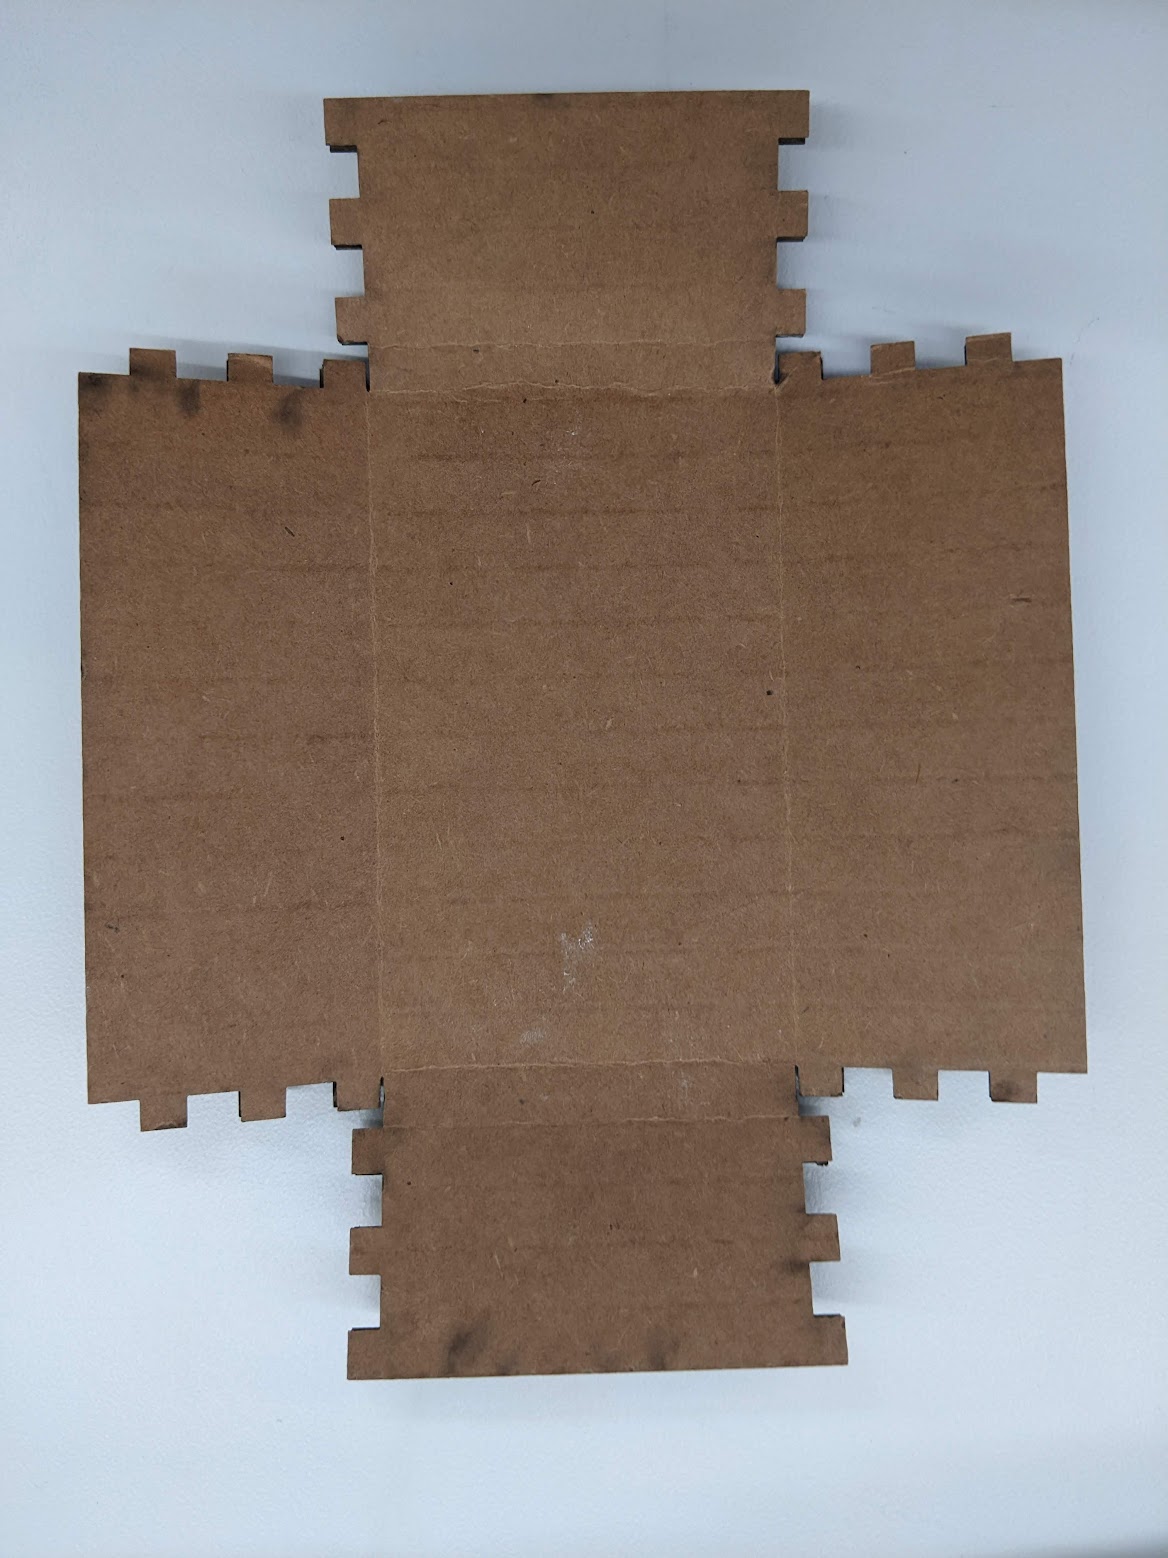
Box v2 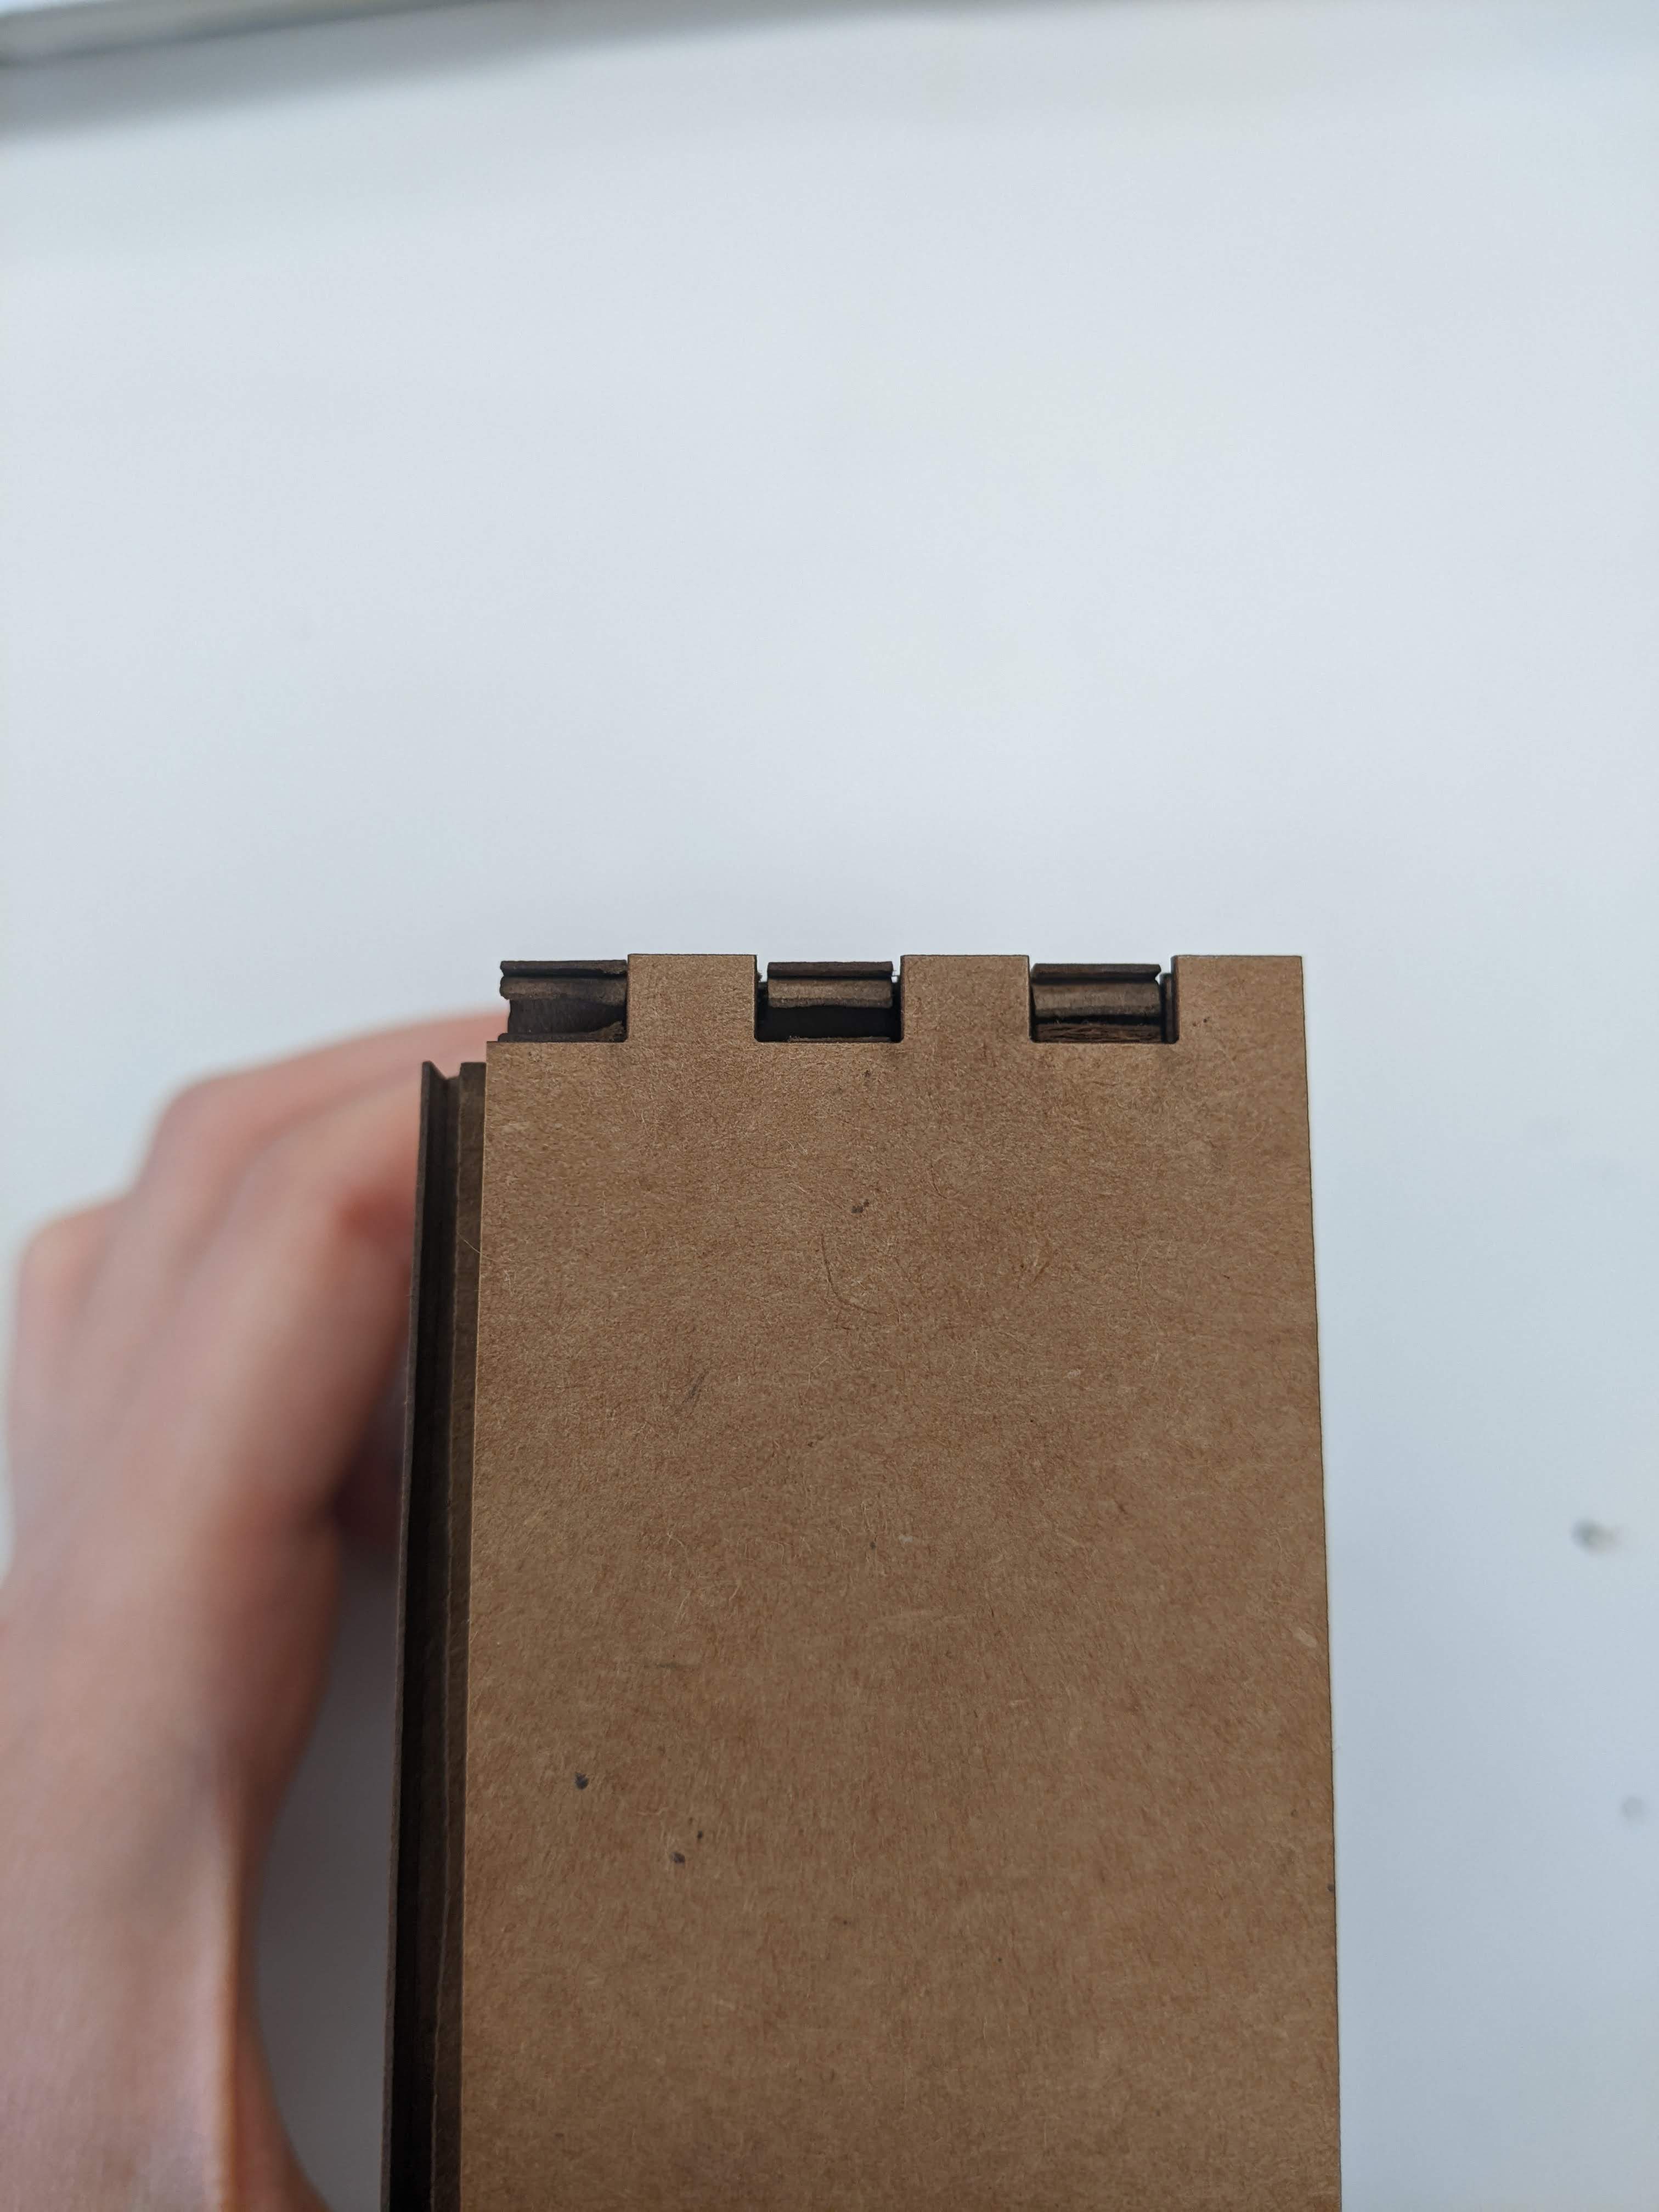
Box v2's fingers After fixing those two things, I printed a second box. This version was better; it was just the fingers that were a bit too loose. Even though they fit into each other, they wouldn't stay together by themselves. (If you look really closely at the picture on the right, you can see a very thin gap between the fingers.) This is likely due to kerf, the material that is removed when the laser burns through the cardboard; this amount changes based on the material you’re cutting (denser material = larger kerf because the laser is burning away longer). To fix this, I added a parameter to the Fusion 360 design for kerf, and set it to 0.5 mm. I also decided to increase all the other dimension parameters too since box v2 was a little small.
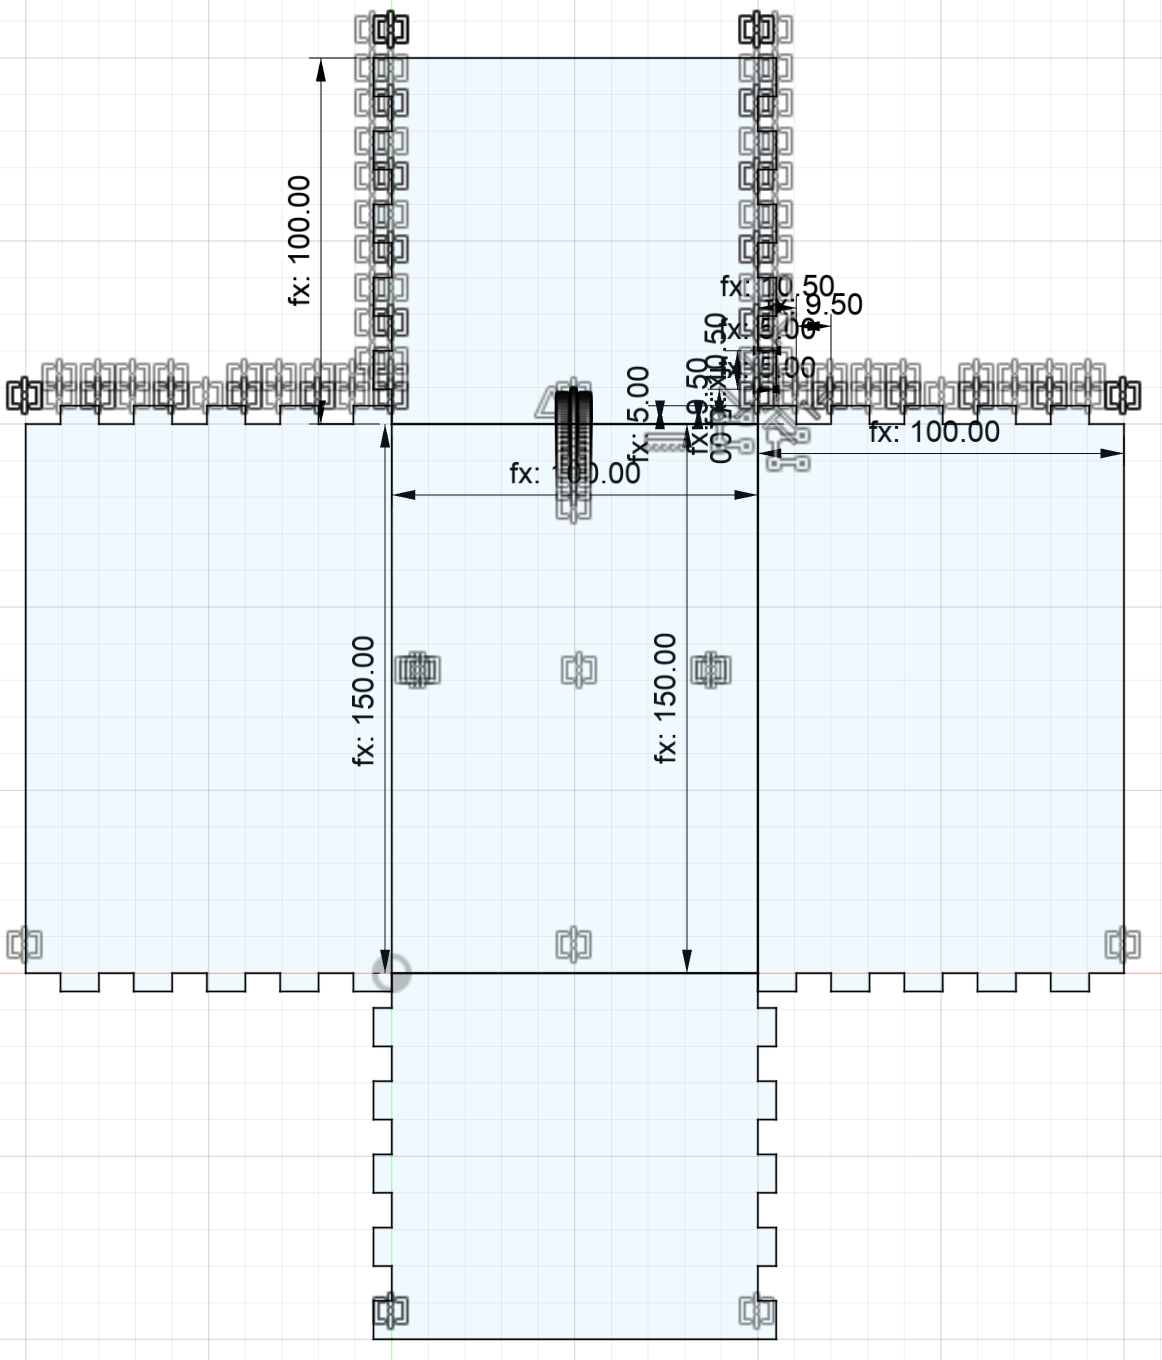
Box v3 in Fusion 360 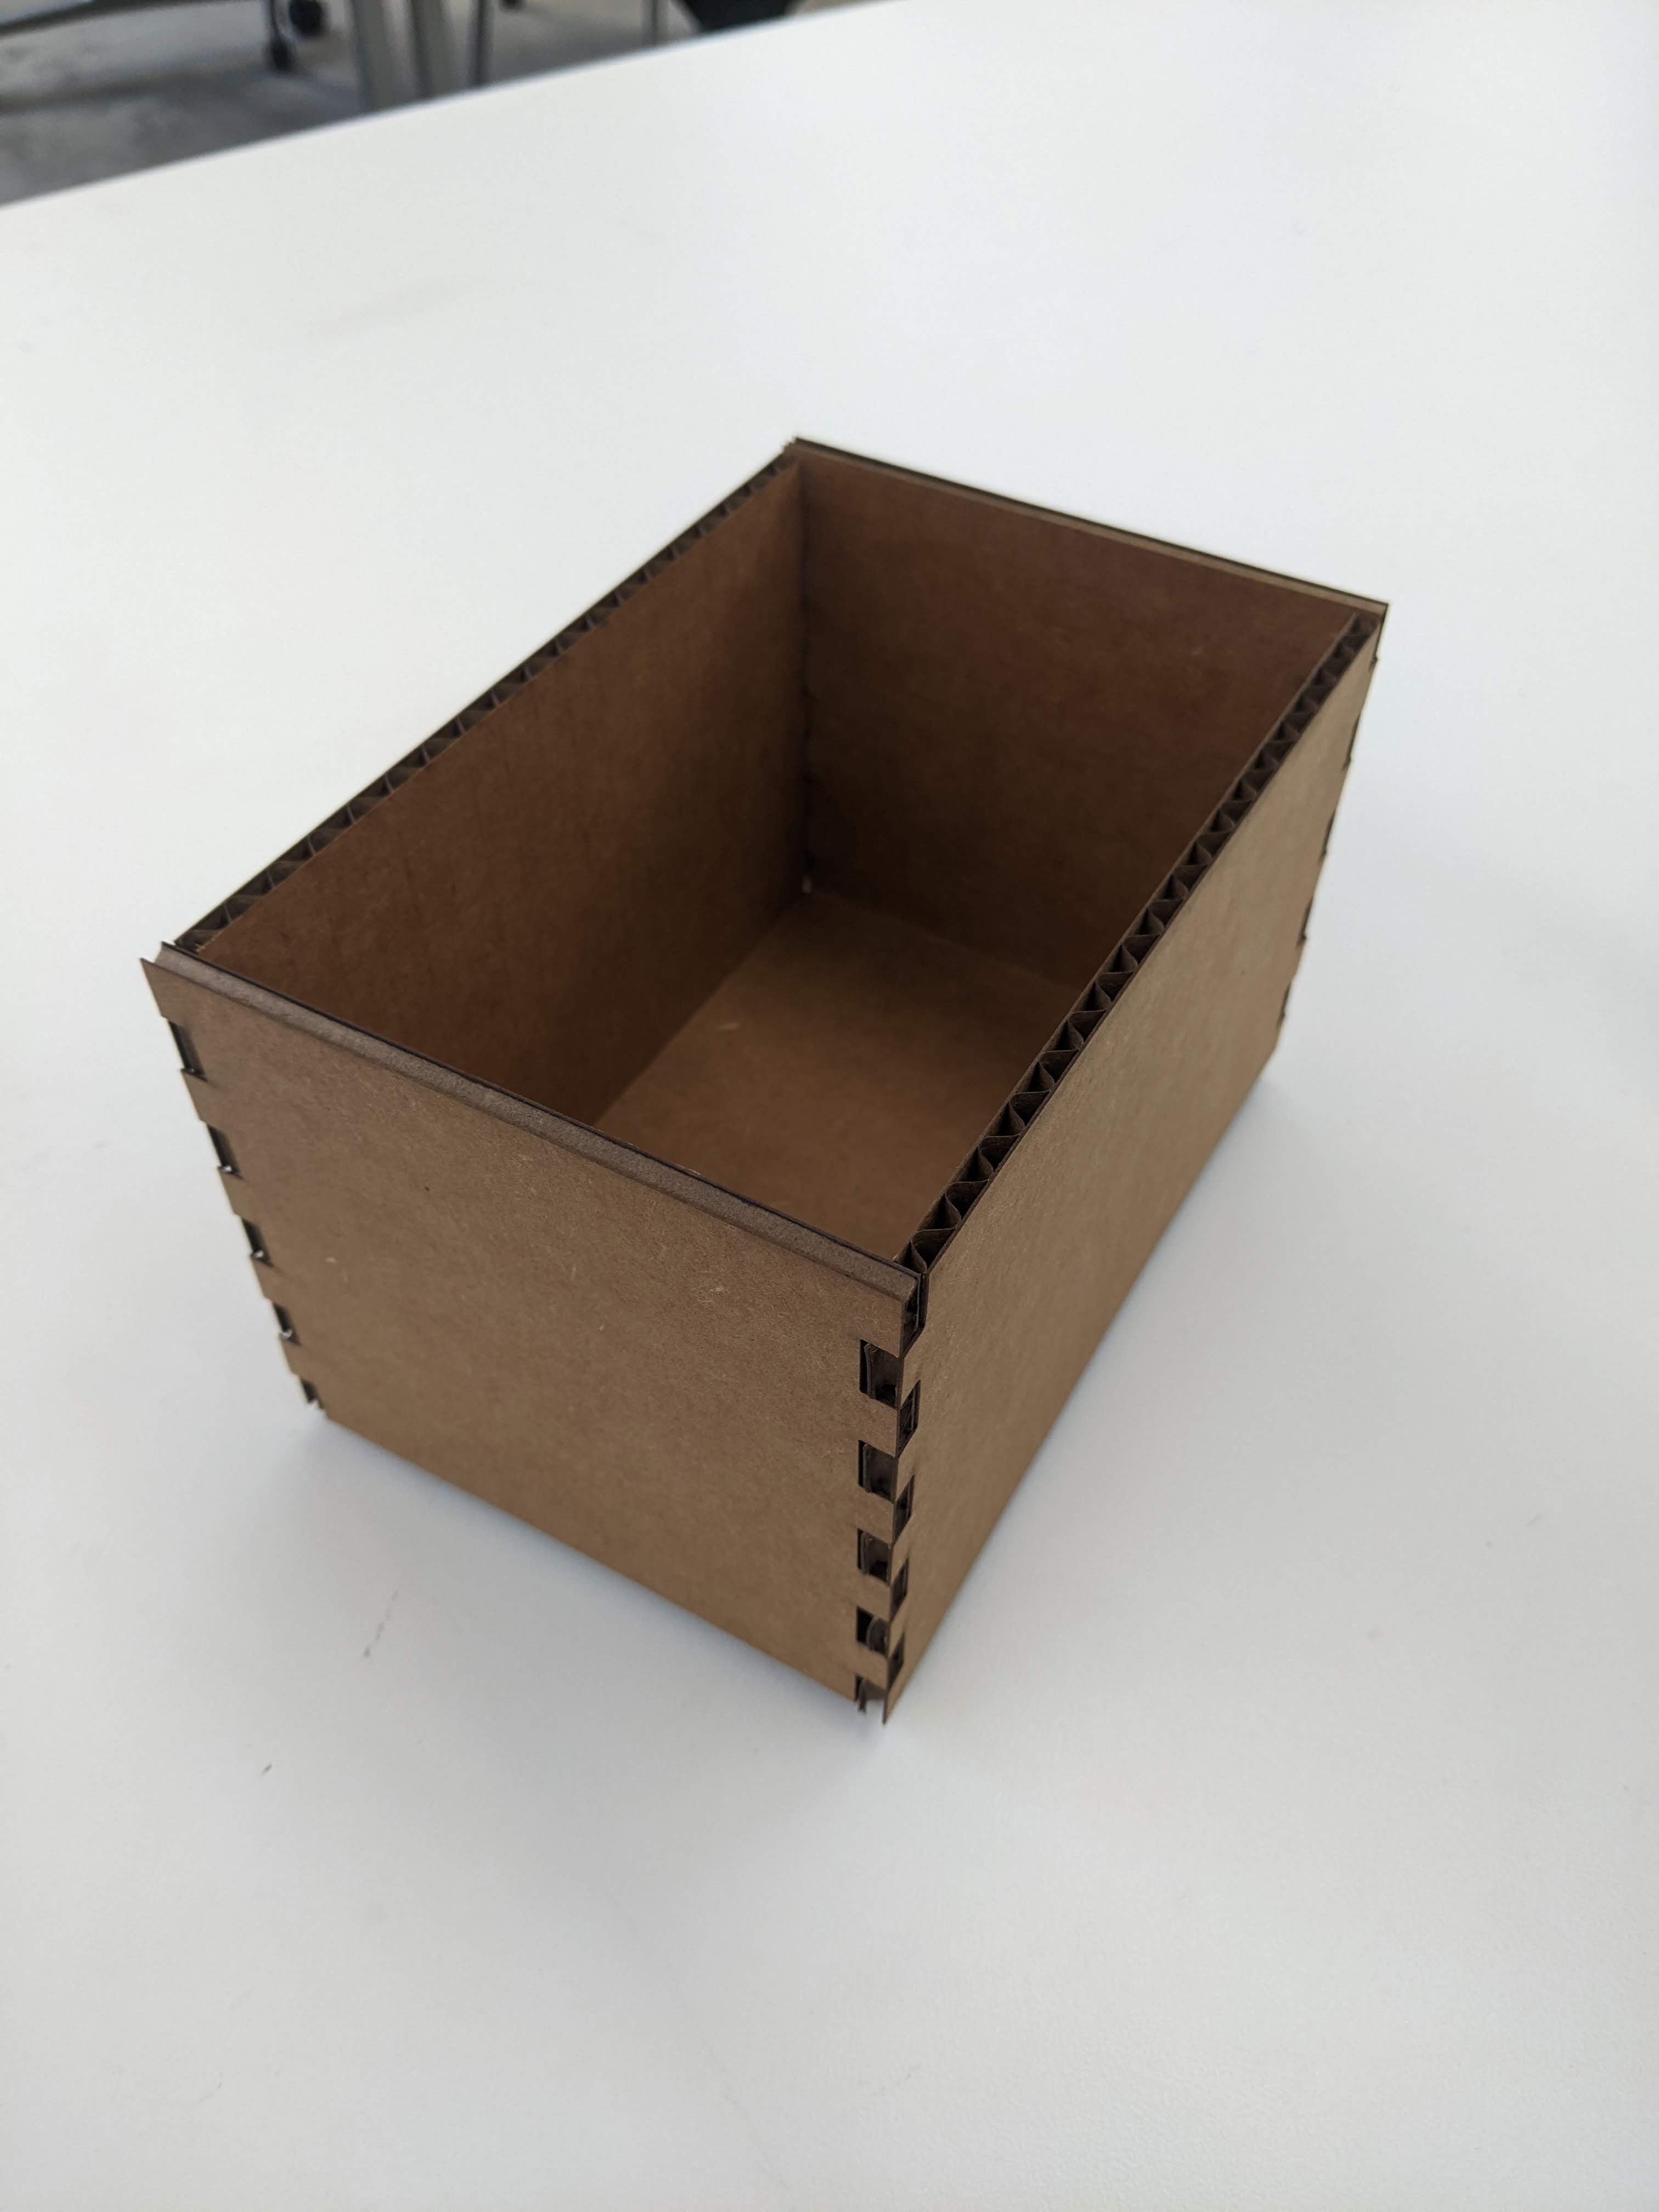
Box v3 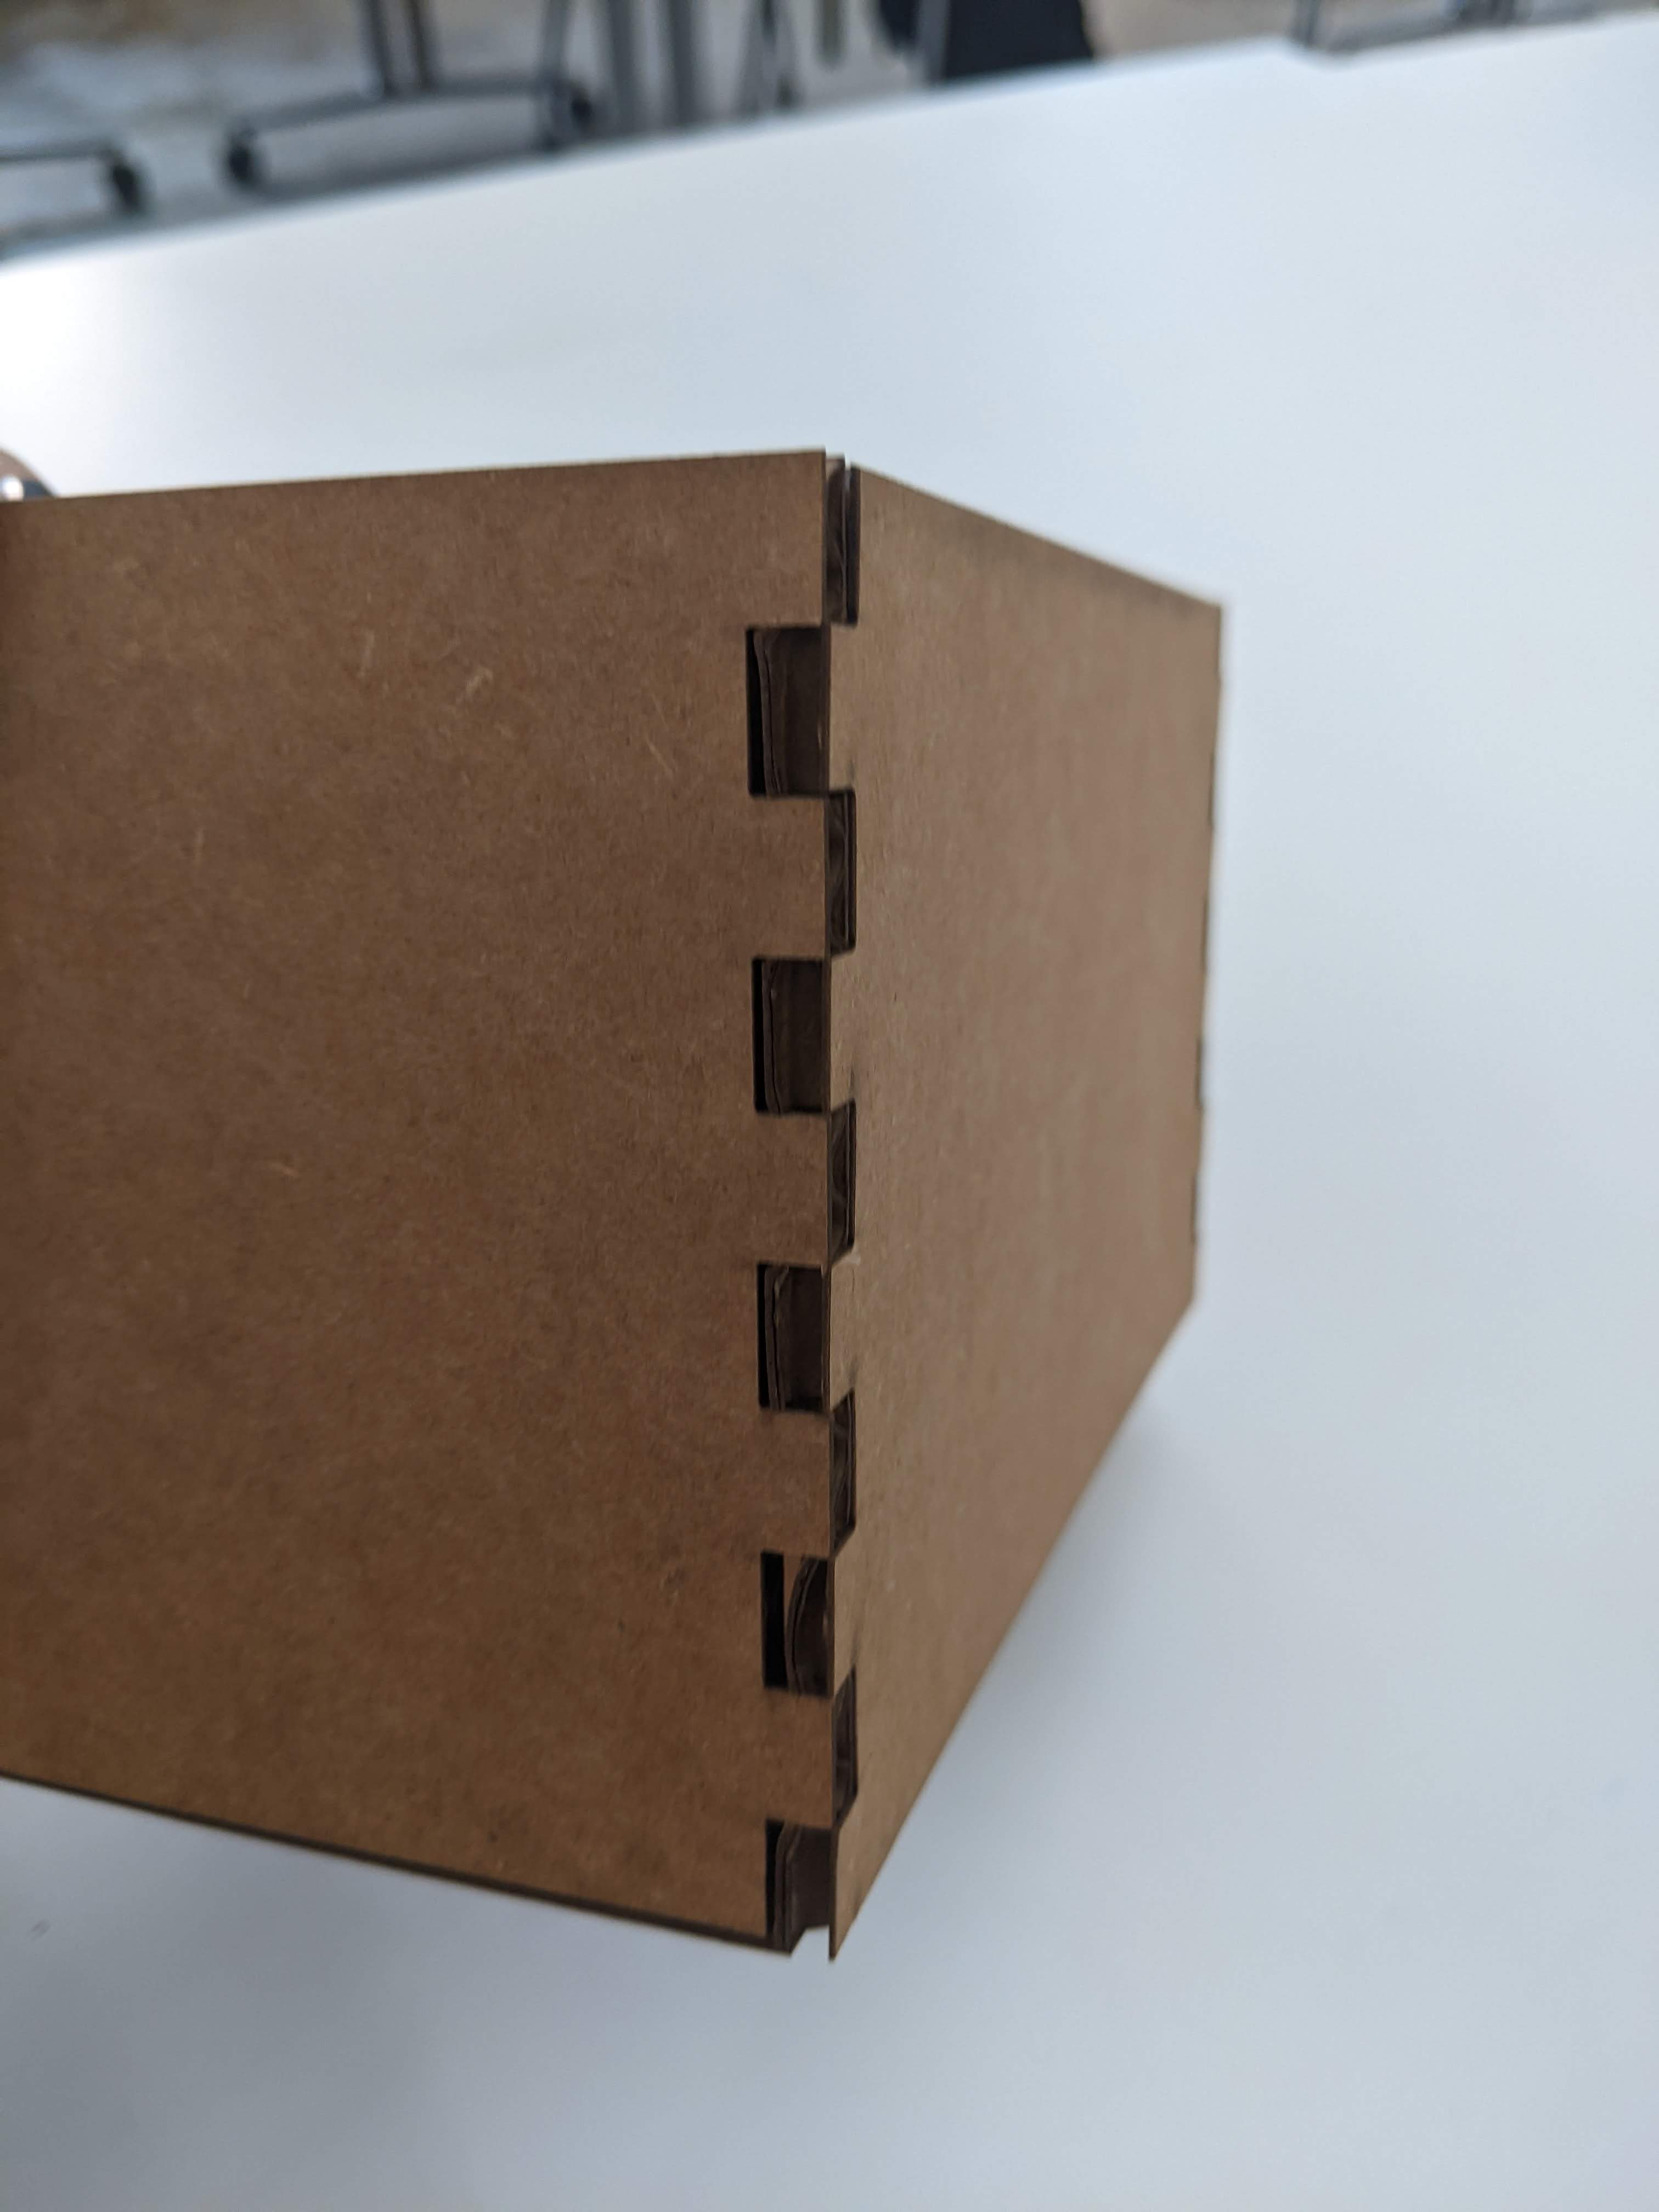
Box v3's fingers Everything finally stayed together! I think the kerf could have been slightly smaller, maybe 0.4 mm, because the fingers were a bit tight. Luckily, the cardboard was squishy enough for me to wiggle them in.
Sticker
-
The second assignment was to use a vector graphics tool to create a monochromatic design, and cut something with the vinyl cutter. I decided to make a Pusheen sticker for my little sister because she loves sending me Pusheen gifs. I found an image of Pusheen online and imported it to Inkscape. There, I converted it to a vector image using the Trace Bitmap feature. I then printed it using the vinyl cutter, took away the negative area, and applied the transfer paper on top. This took two tries; the first time, my design was too big for the vinyl piece I cut (oops) so the machine stopped cutting halfway through.
-
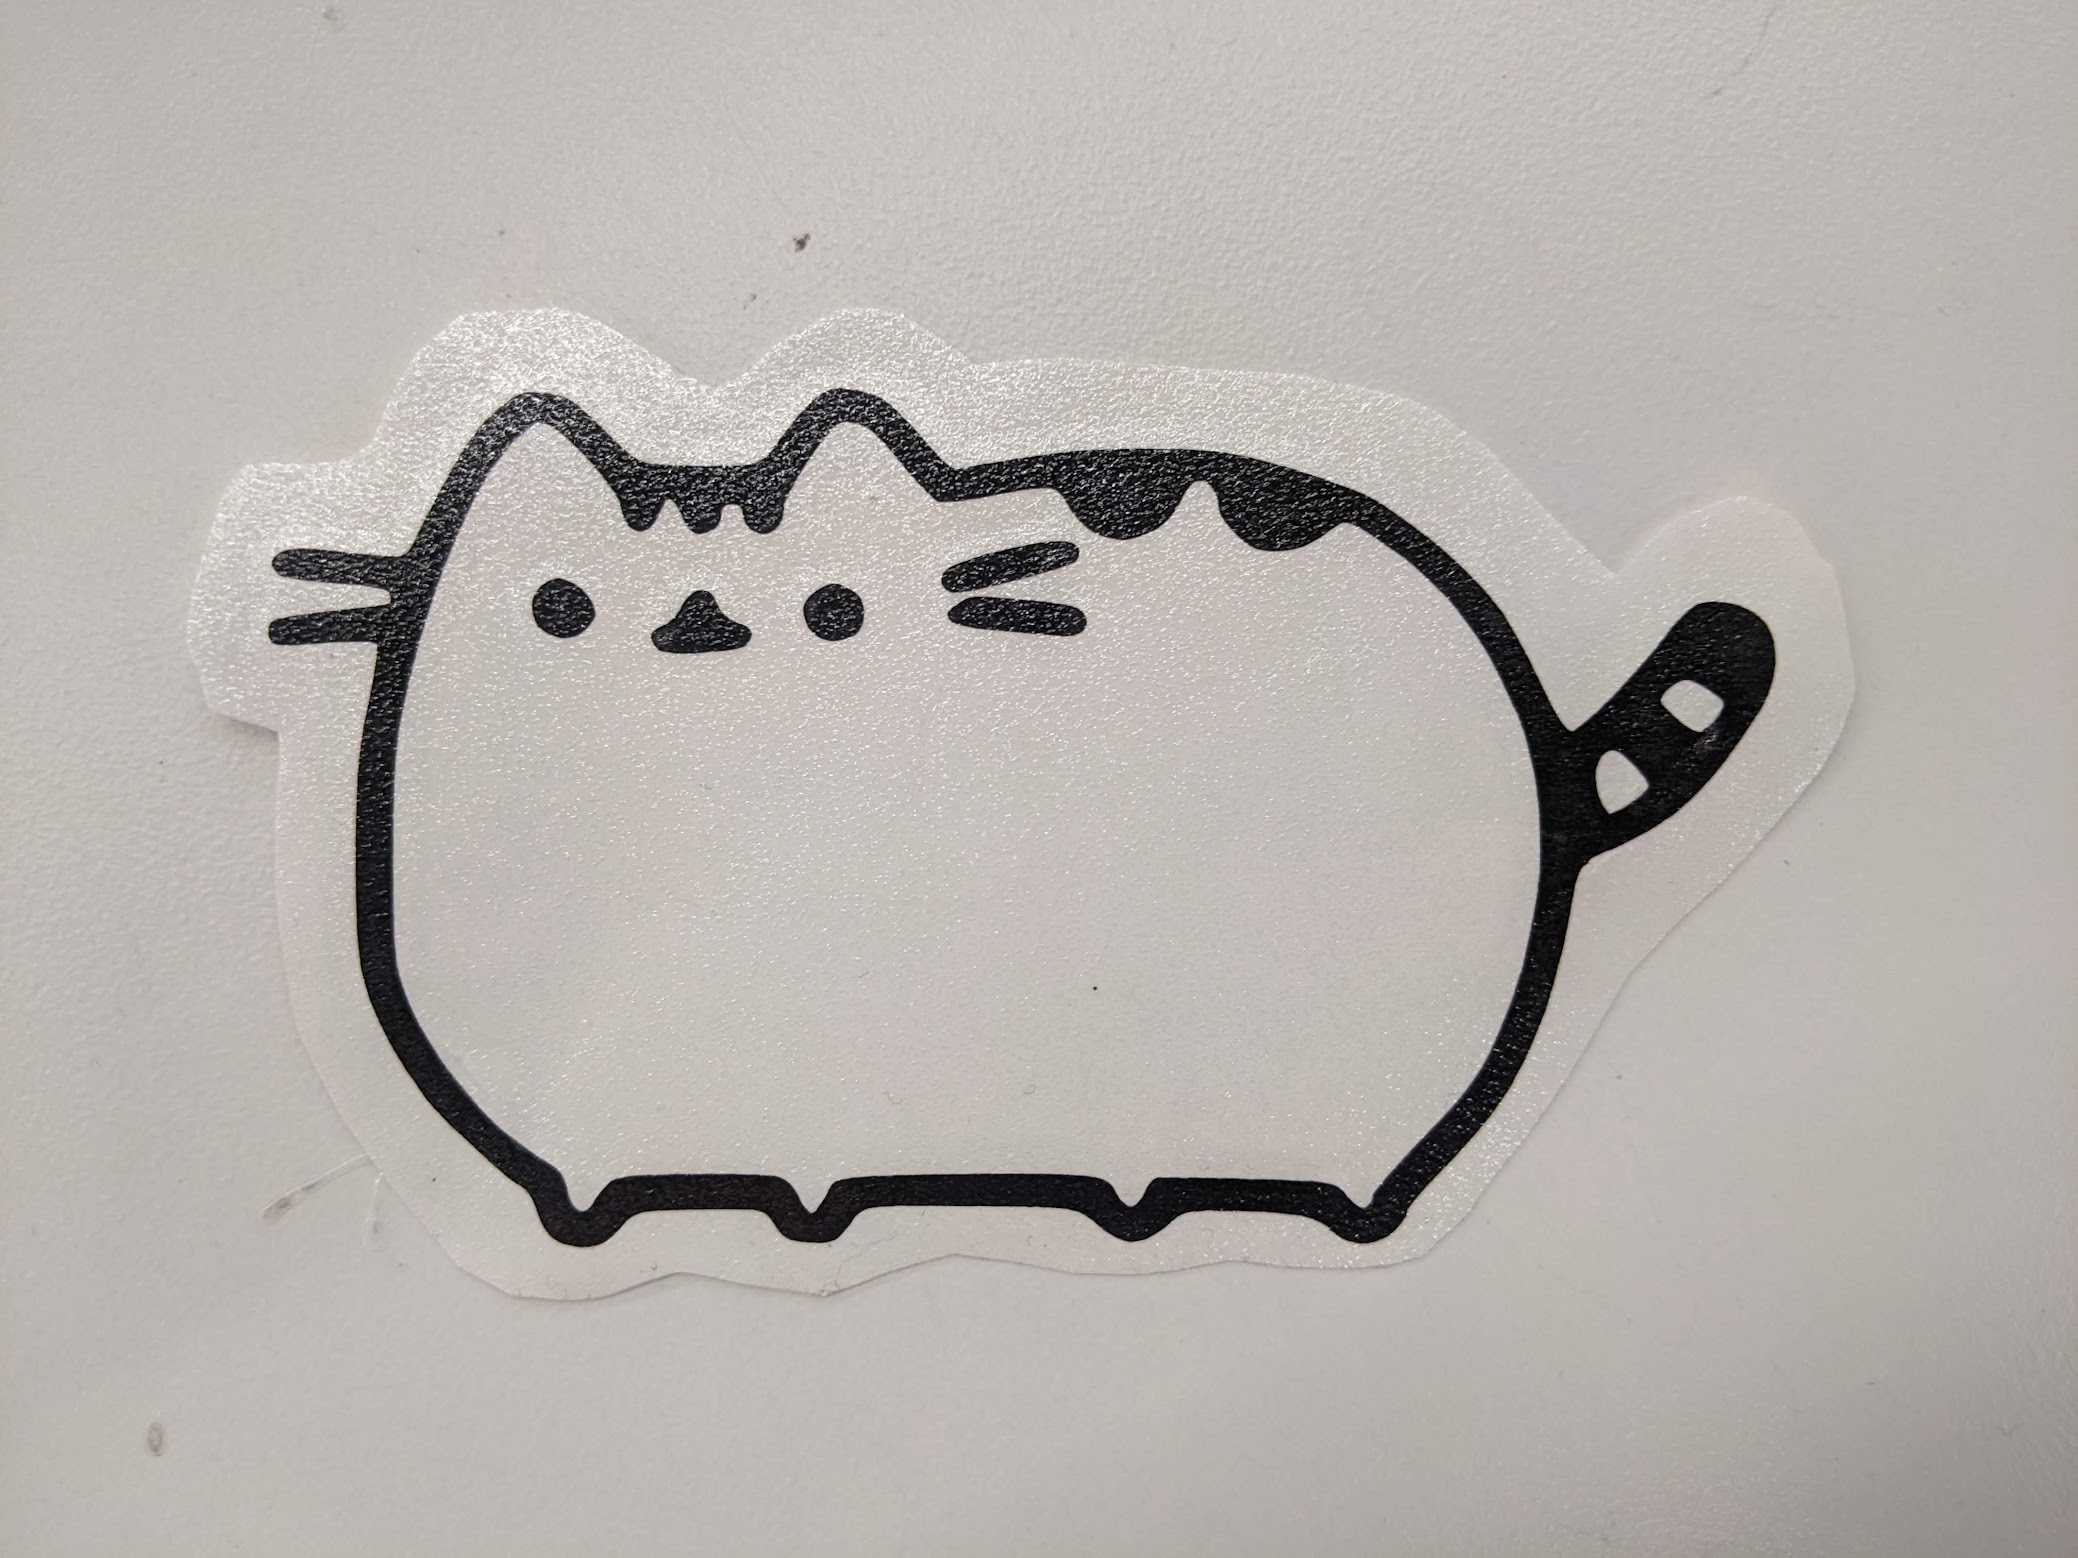
Pusheen vinyl
-
Fusion 360 Tutorial
-
The third assignment was to work through a Fusion 360 tutorial. I followed this one from Product Design Online and created a Lego block. Some new features that I learned include: the Extrude command to make objects 3-dimensional, the Shell command to hollow a body, the Offset command to create an object with 2 defined walls, and the Fillet command to round edges.
-
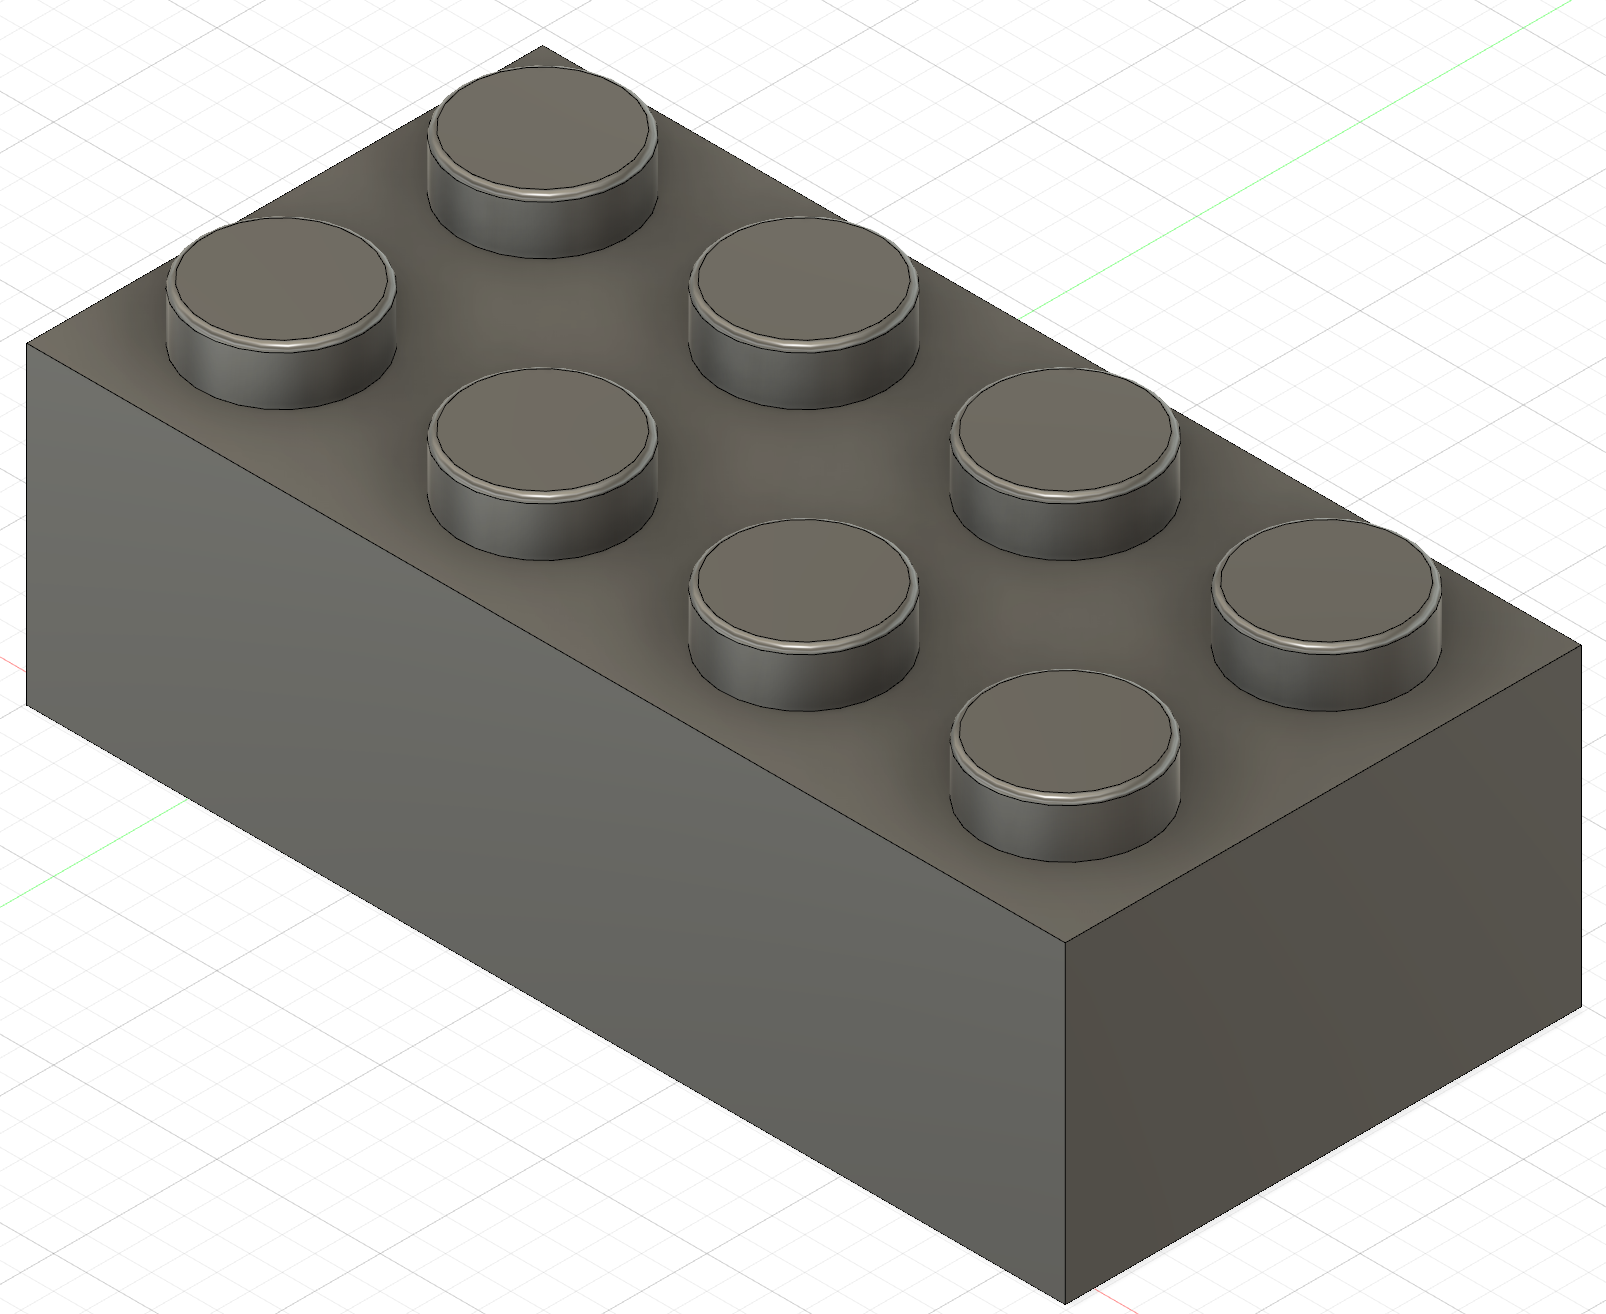
Lego block in Fusion 360
-
Modeling Household Objects
The first object I decided to model was my airpod case, which is the shape of a boba. Below you can see two examples of the measurements that I took using the calipers. I then recreated the shape in Fusion 360. The hardest part was drawing the curve for the smile since it wasn't a perfect geometric object (compared to the circles and ellipses I used for the other components). I ended up using the Fit Point Spline feature to draw an outline of boundary points and approximate the curve. I also learned some other cool commands in Fusion 360, like the Project feature!
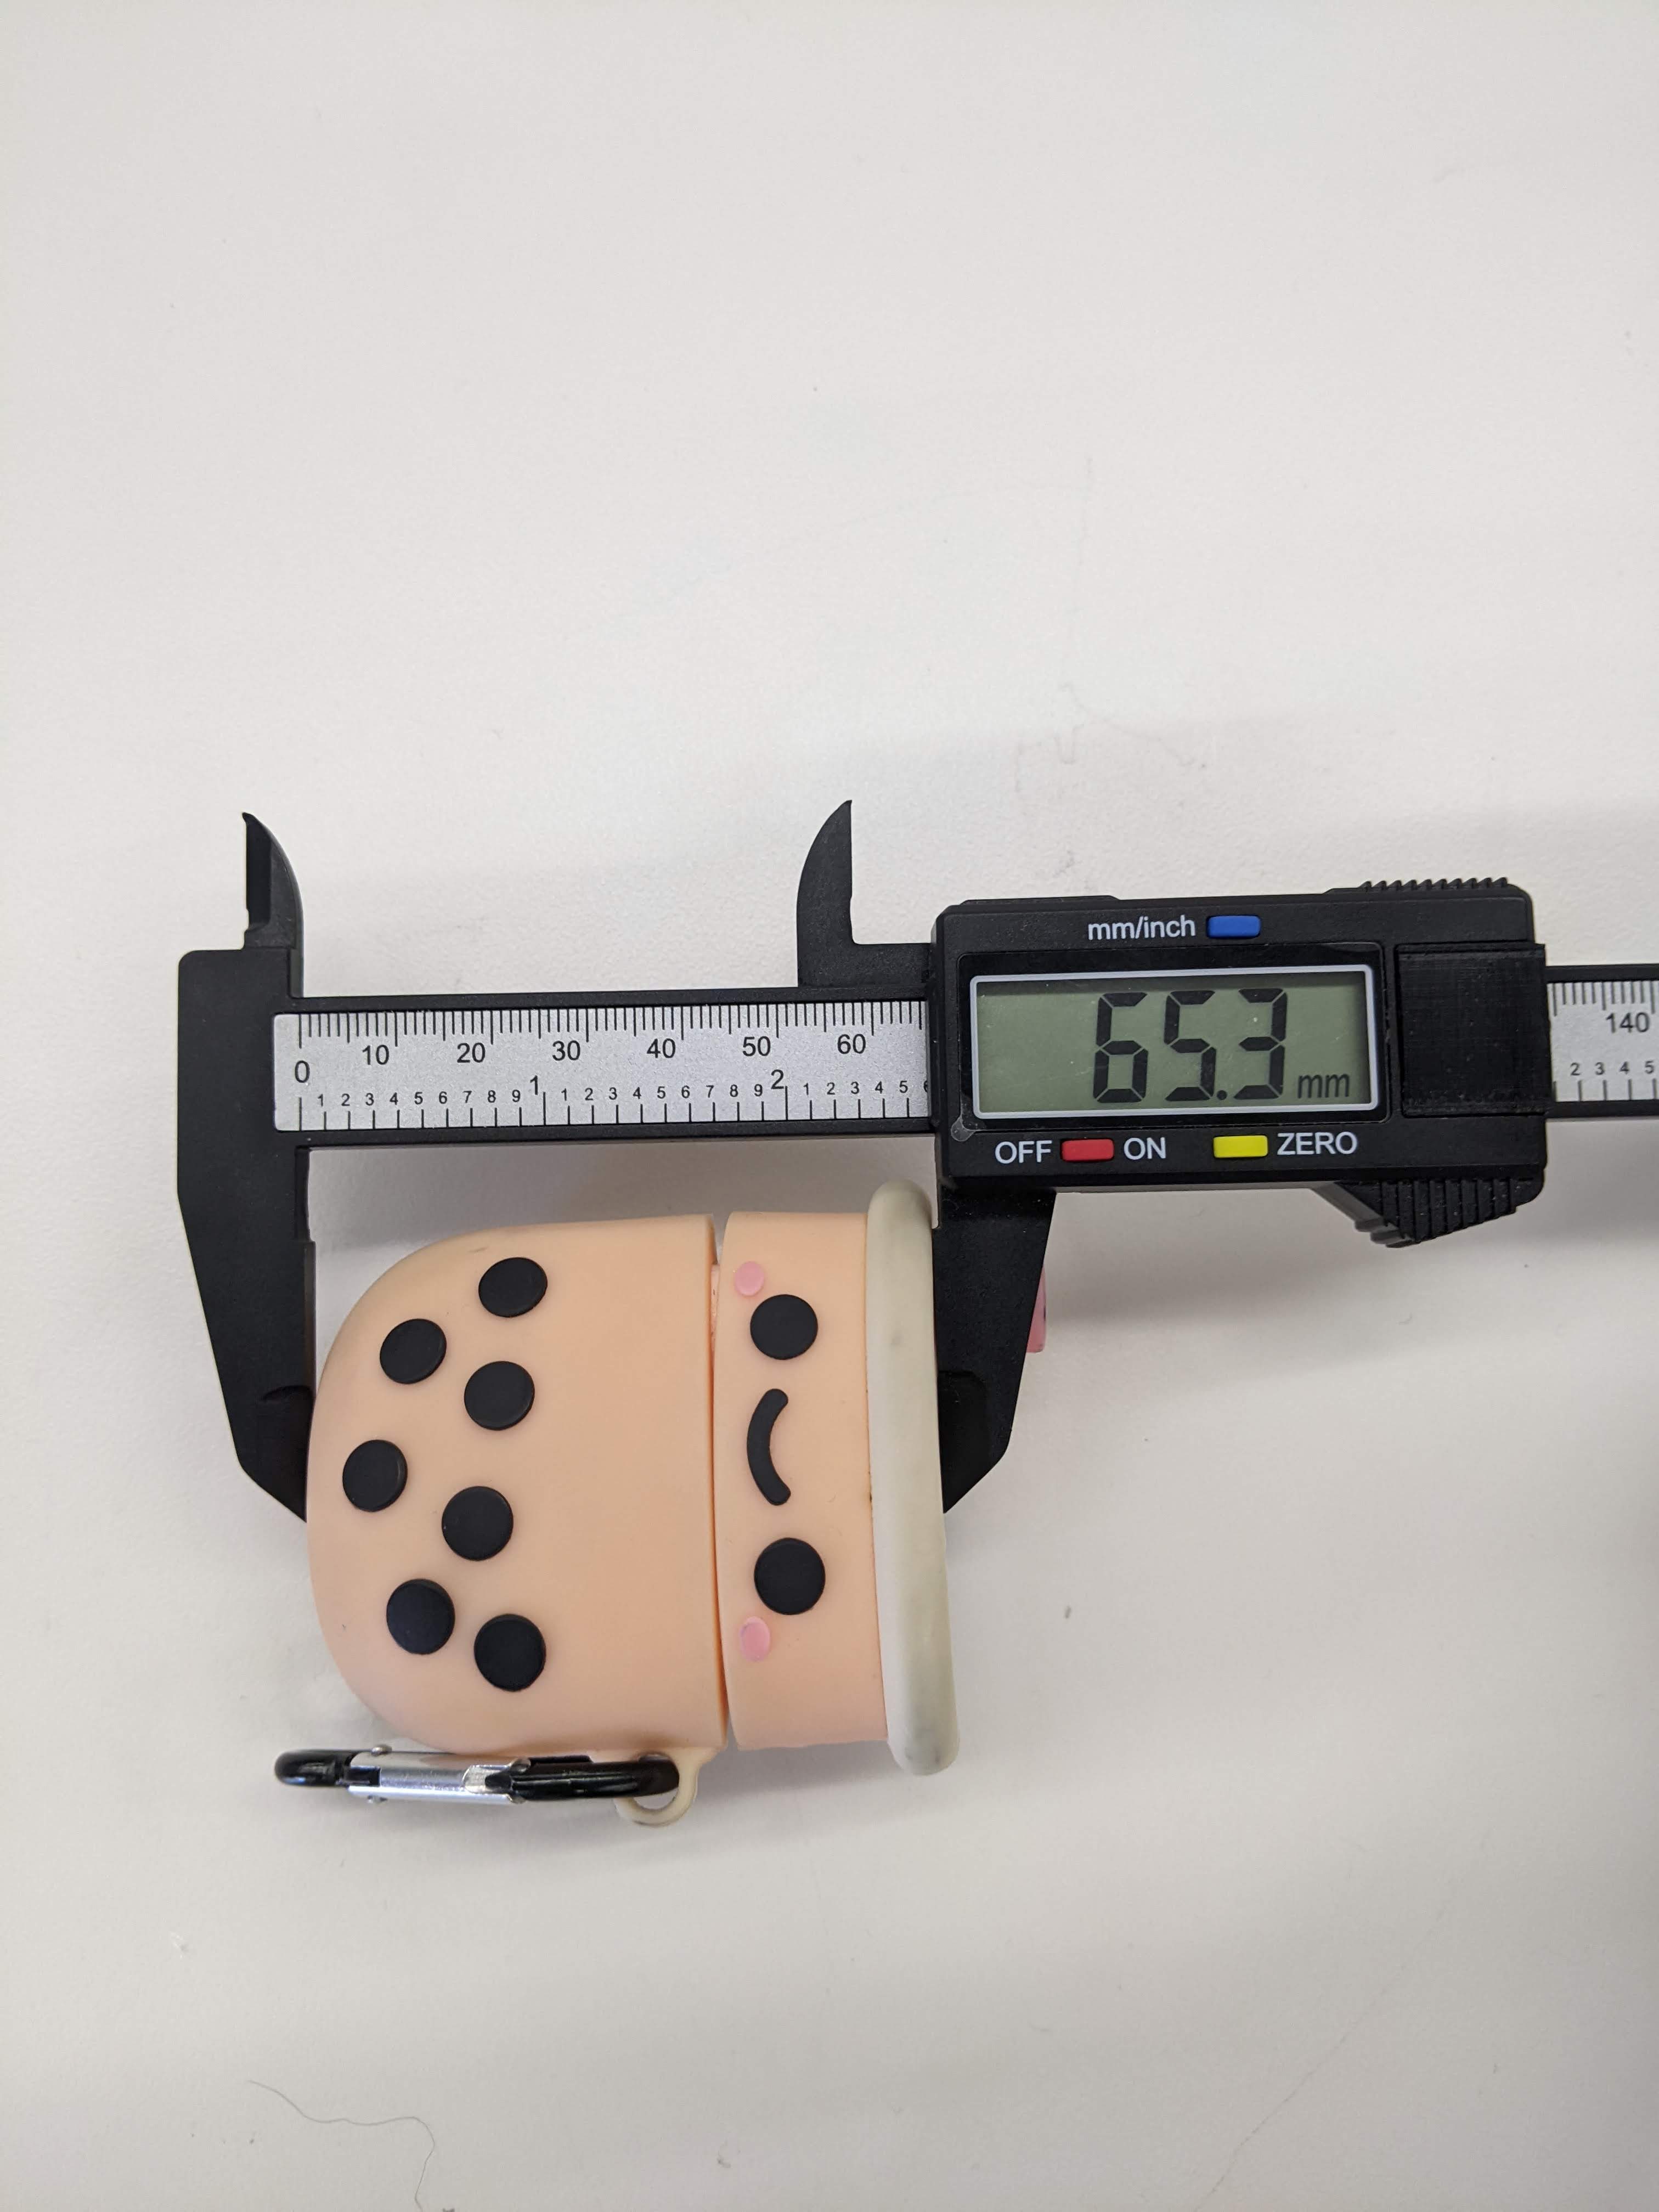
Example of Measuring with Calipers 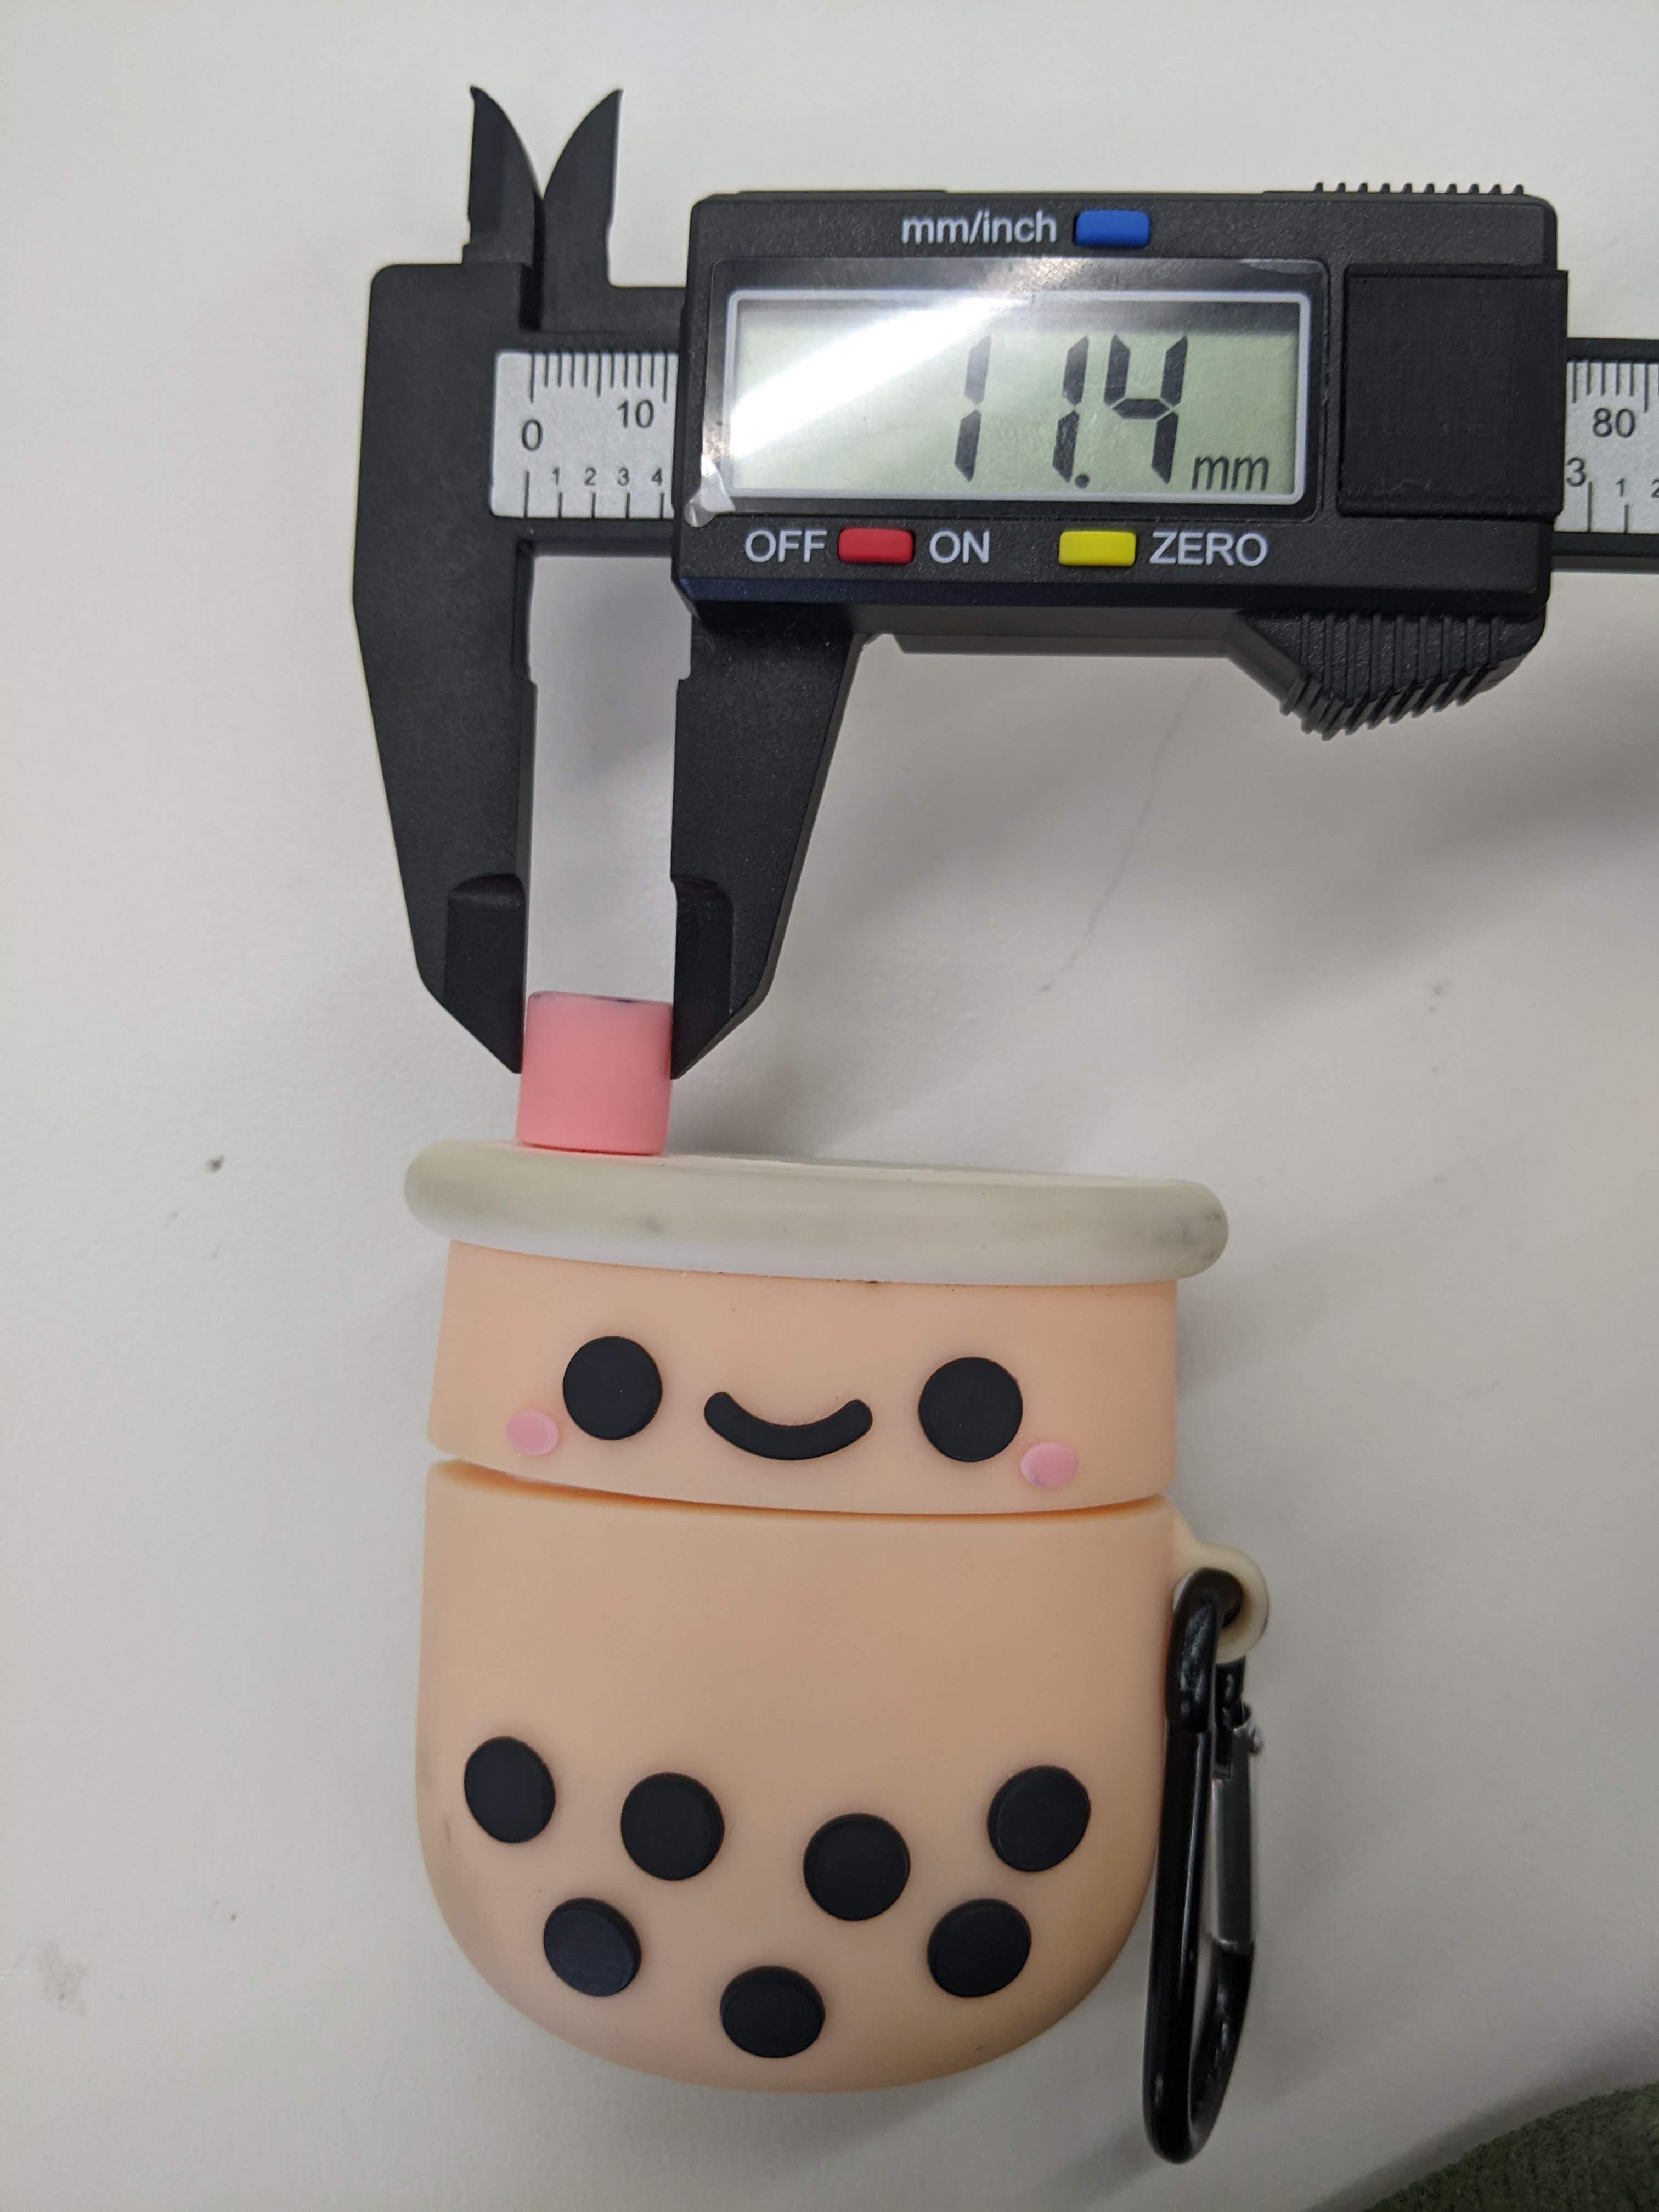
Example of Measuring with Calipers 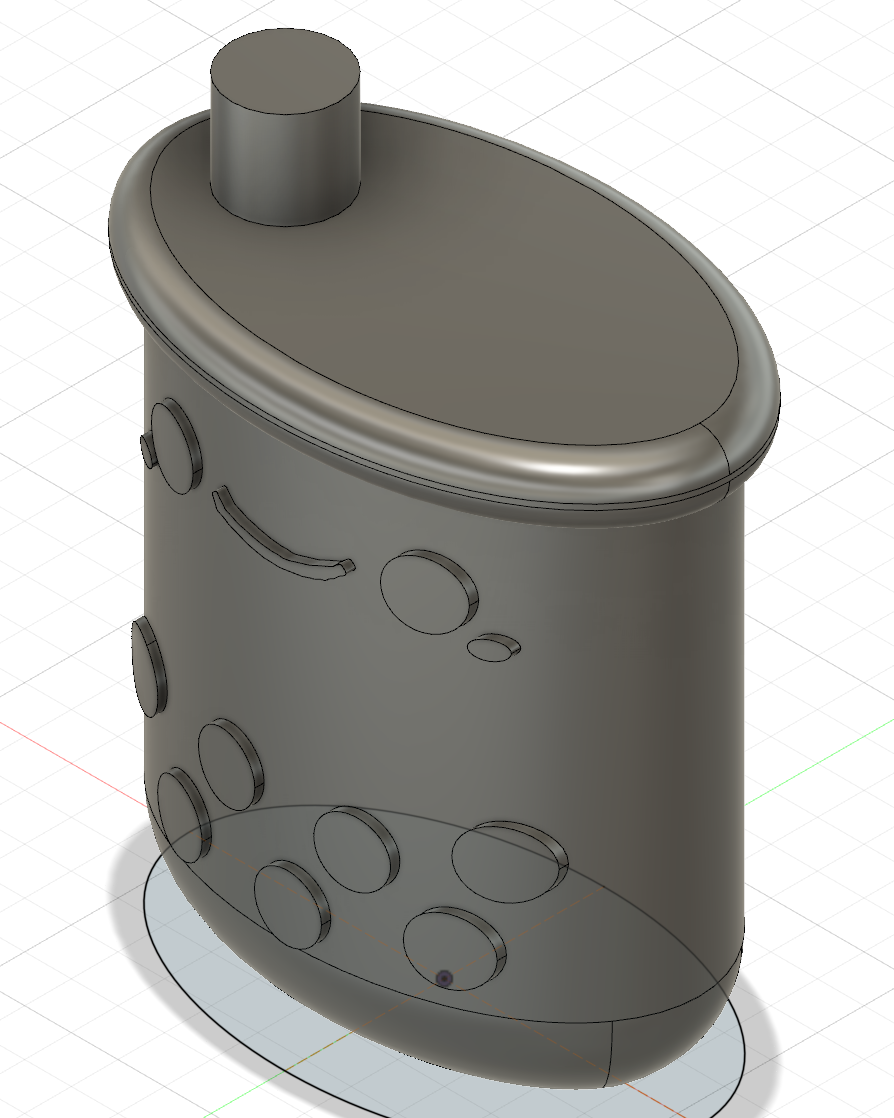
Final Model of Boba Airpod Case in Fusion 360 The second object I decided to model was my water bottle. I chose this because I hadn't used the Revolve feature yet or created anything from a reference image. I thought these two tools were really straightforward to use, and they sped up the process significantly.
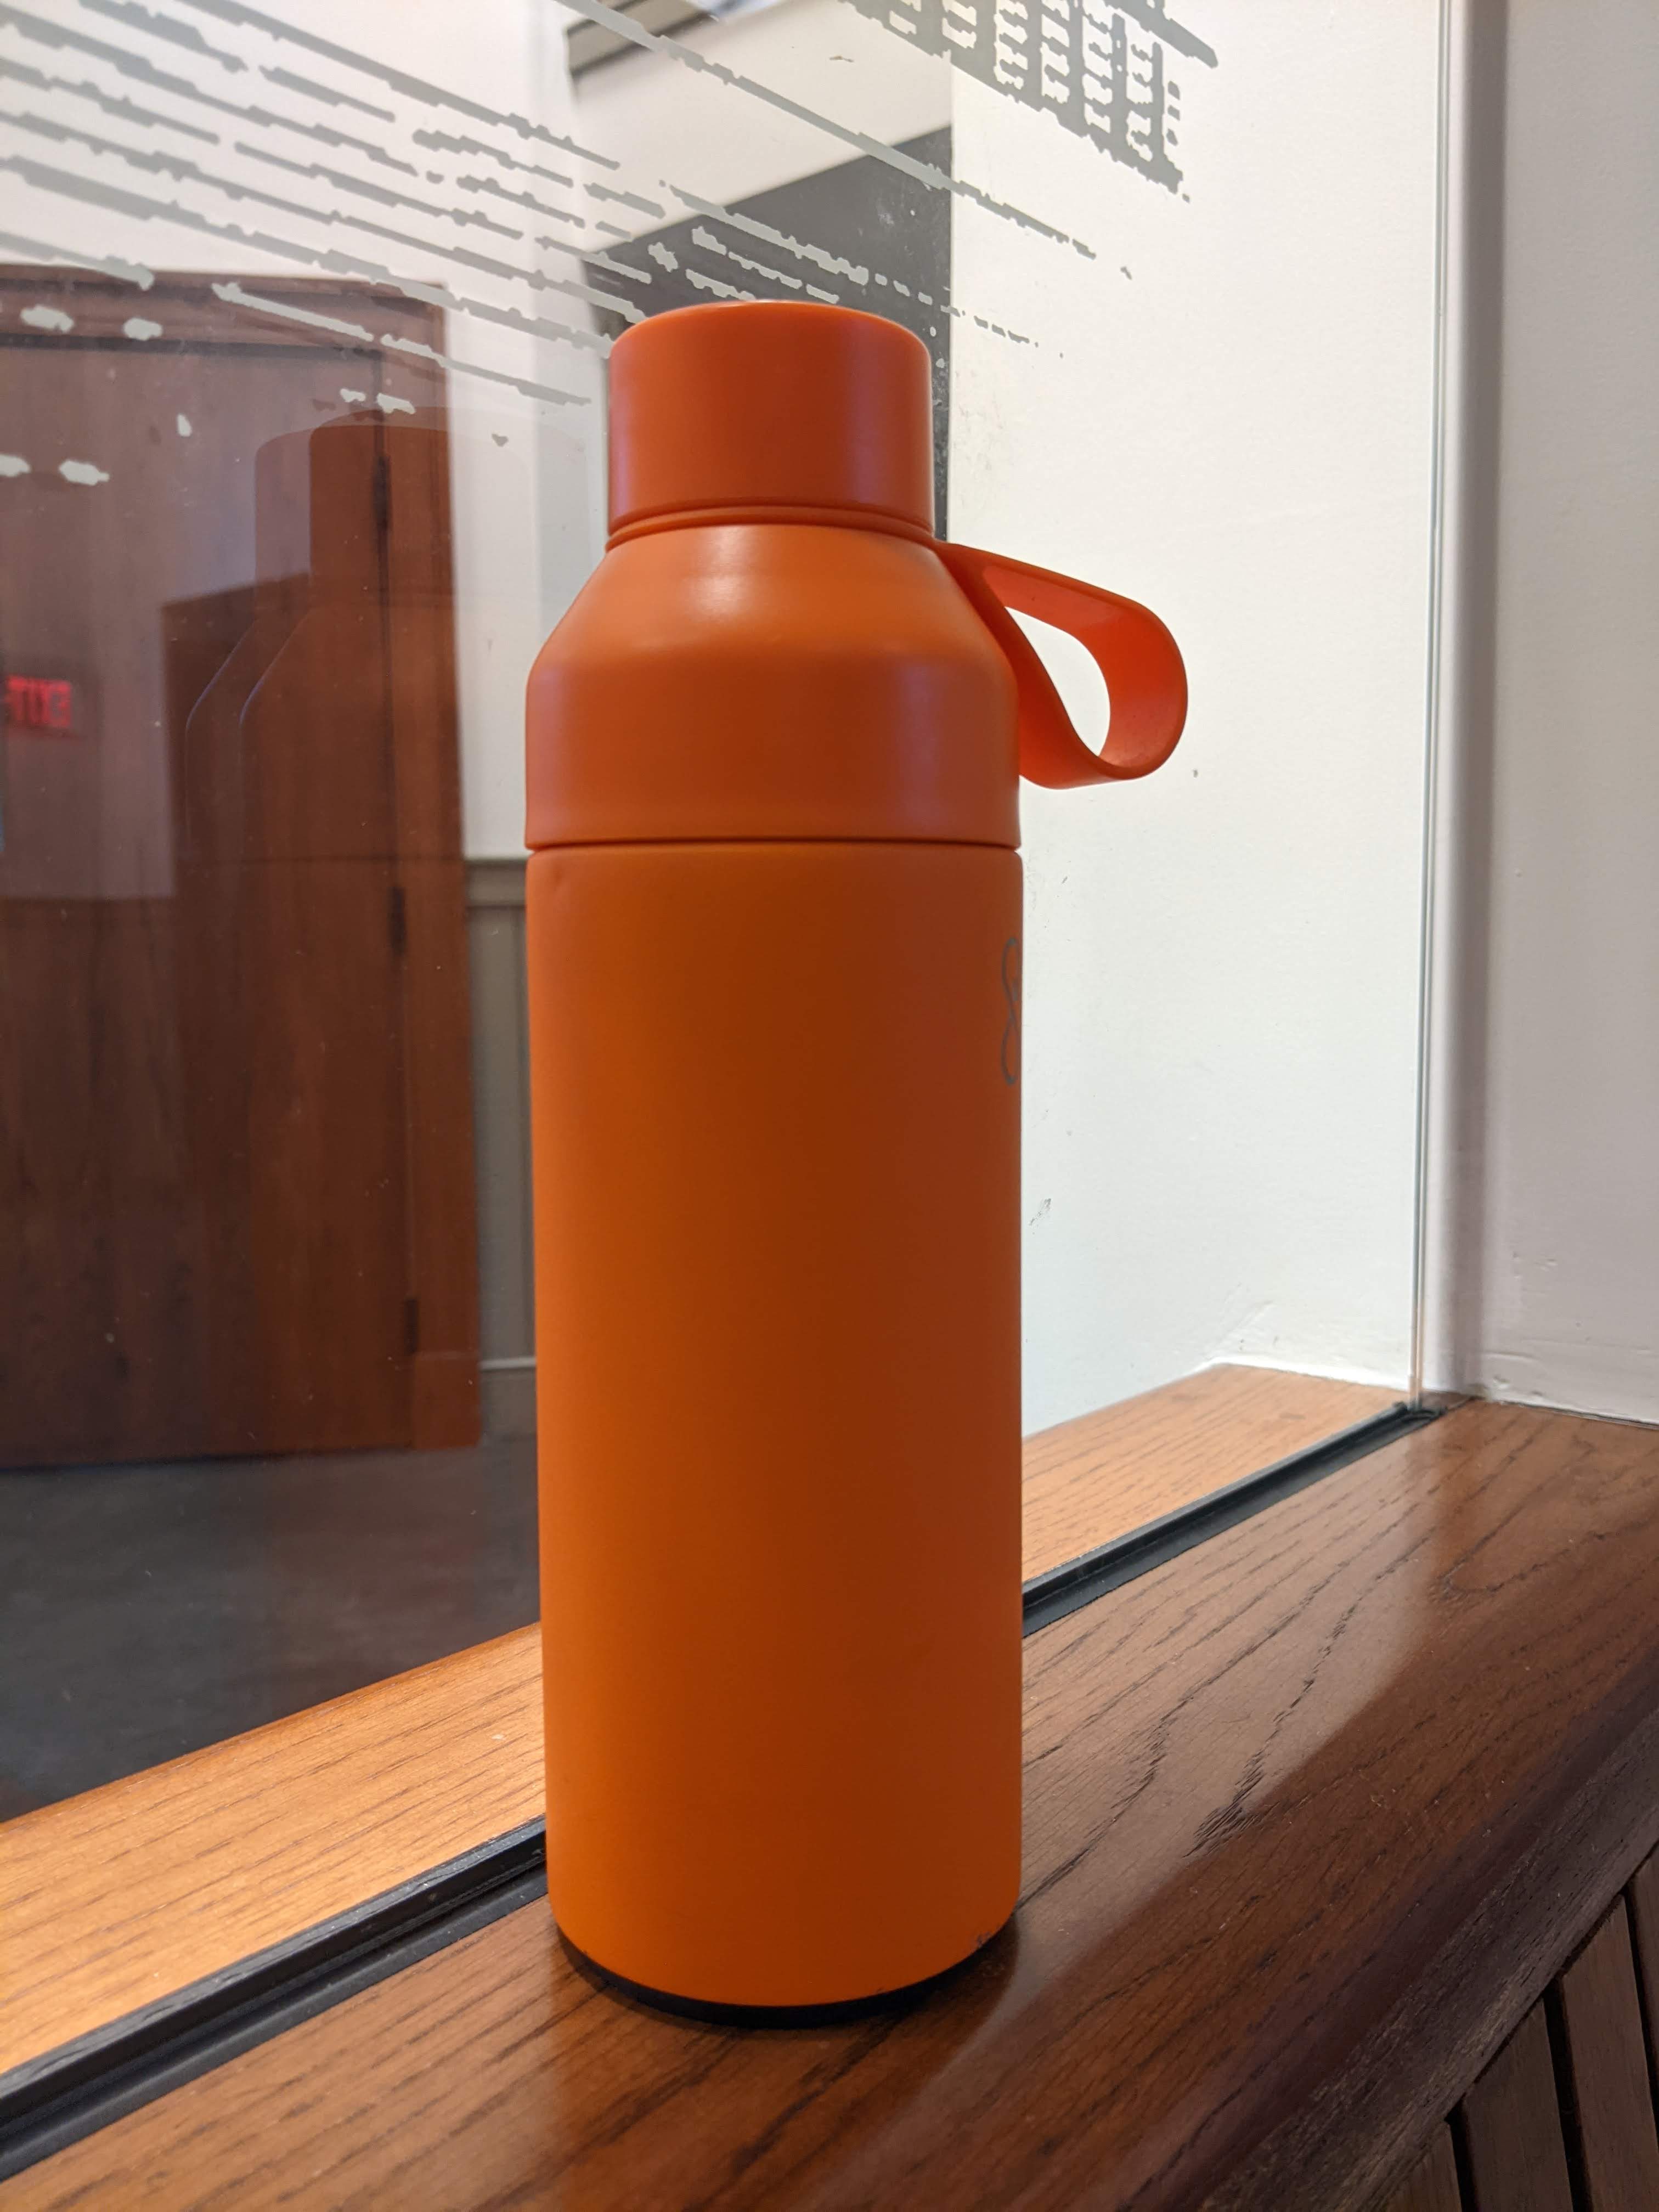
Reference Image 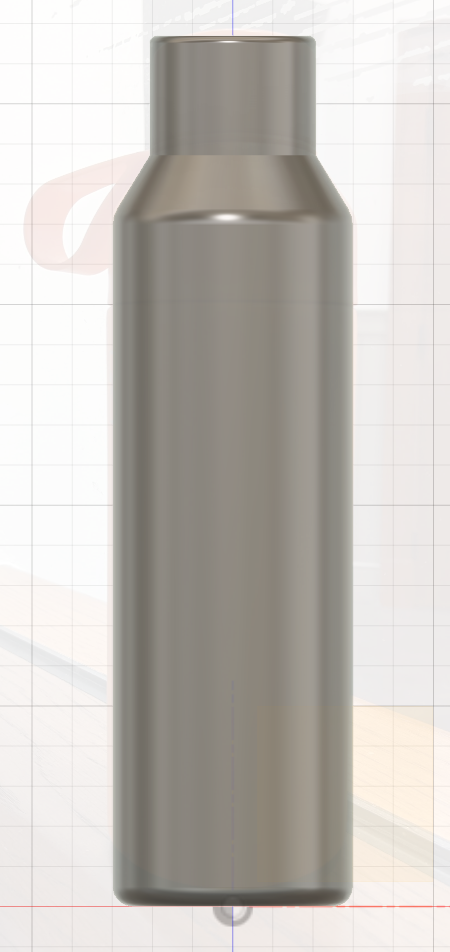
Final Model of Water Bottle in Fusion 360 Overall, I thought Fusion 360 was a helpful tool for creating precise models of objects you want to build. However, I often found that the easy things were hard and the hard things were easy. For instance, you can't copy and paste, and you can't move components by simplying dragging. On the other hand, you could easily create accurate representations of irregular curves using splines!